
DREAM SMALL! That’s advice you don’t hear too often. But when you stop and think, it makes a lot of sense.
In our daily lives, fulfilling our small dreams and desires makes us happy. These small triumphs, strung together, give us our fondest memories.
I’m not suggesting you abandon your grand dreams! But don’t forget the small ones.
It’s unlikely that I will be the NFL’s first five-foot tall quarterback. It is unlikely today, unlikely tomorrow, and probably won’t happen next week, either. But I also have a host of more modest goals I hope to attain. And I suspect it is these that will make me happy.
In part 1 of Building a Tule Boat, I related my dream of building a tule boat and how I finally got the chance when I signed up for a “boat build” in Pt. Reyes, California.
Tule is a marshland plant that grows in many places in North America. The Ohlone, Coast Miwok, and Yokuts Peoples in California made beautiful boats (technically rafts) from the plant to hunt and fish. Our small group crafted two boats in a span of 5 hours. Then I had the thrilling experience of paddling them on Tomales Bay!
Let’s continue with our boat build…
Making the Gunwale
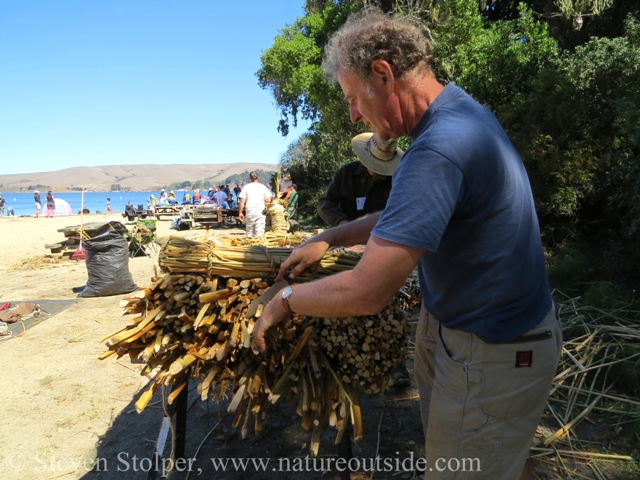
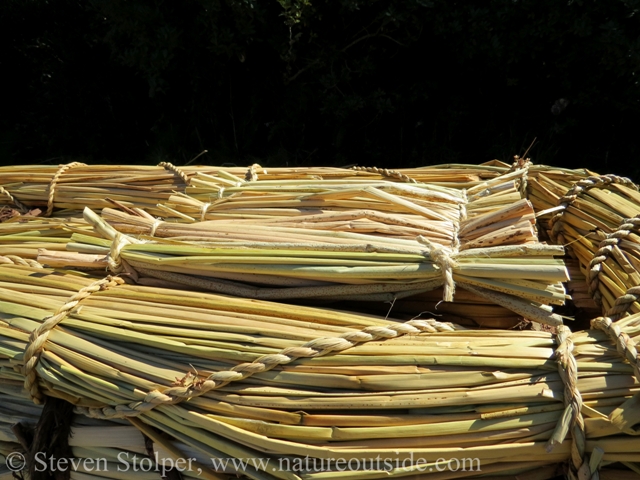
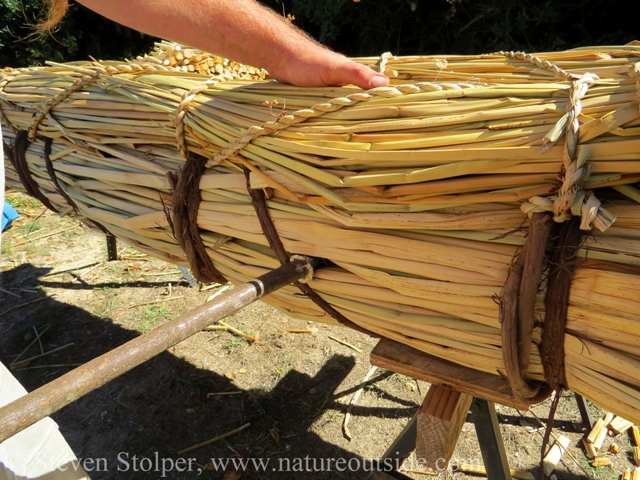
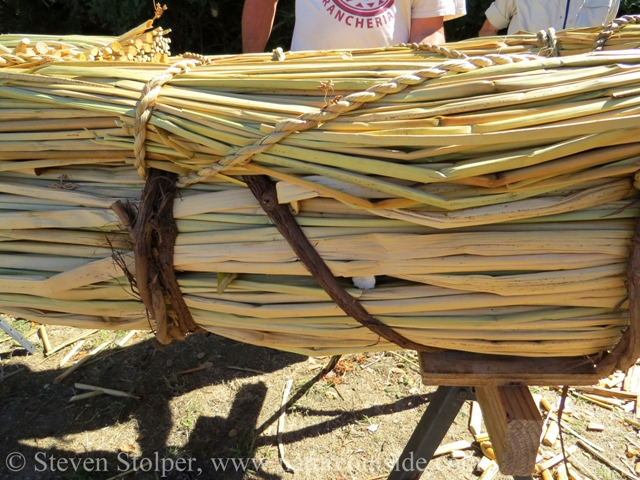
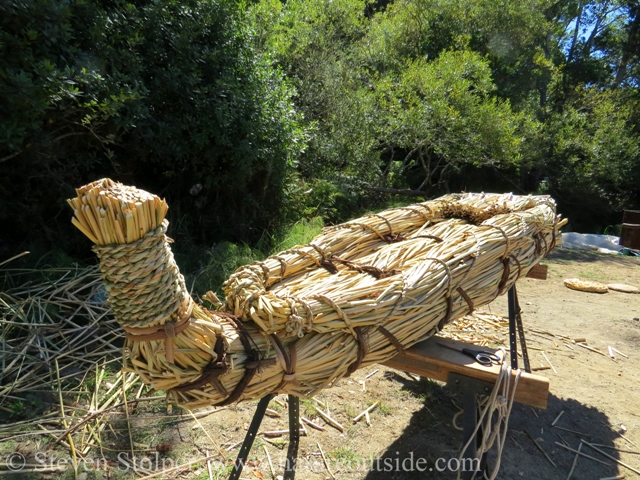
The morning mist gave way to beautiful afternoon sunshine. After a quick lunch, we get to work sewing the gunwale onto the deck of the boat. This is a “railing” or lip that surrounds the perimeter of the vessel. It keeps equipment (or fish pulled from the sea) from falling overboard. We make small, long bundles from tule and sew them to the deck of the boat using the tule cordage we made earlier in the day.
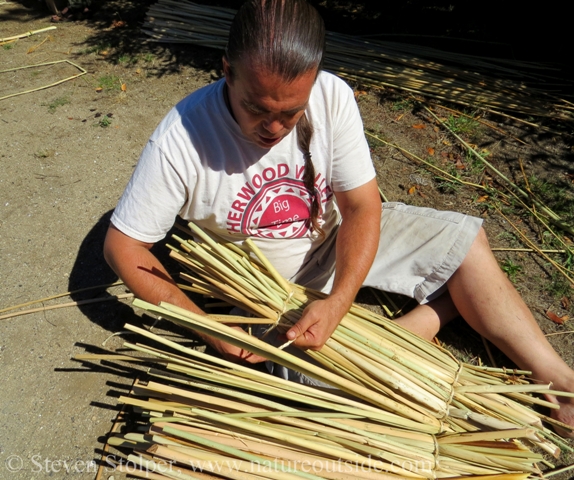
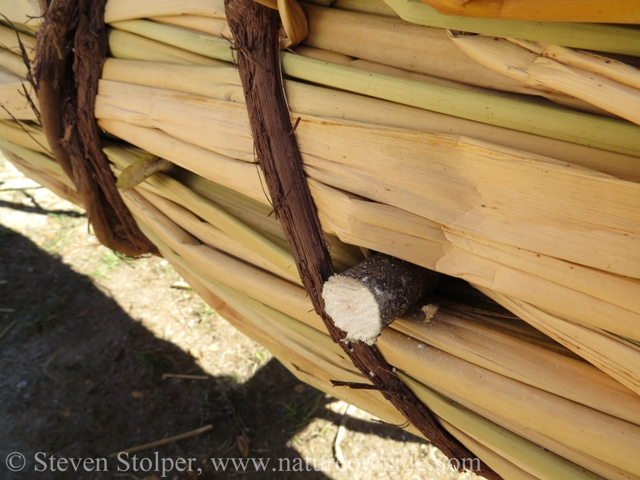
Again, we never pierce the bundles themselves when tying them to others. Instead, we wrap the cordage around them and weave it through the grapevine we used to secure the large bundles that comprise the hull. Once secured to the boat, we trim the edges that stick out using scissors and knives.
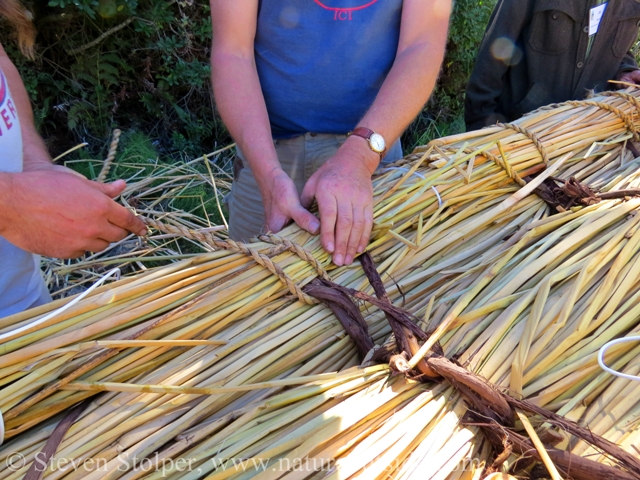
We use tule rope to tie the gunwale to the deck. We never pierce the tule bundles. We wrap the rope around the grapevine holding the three main bundles together.
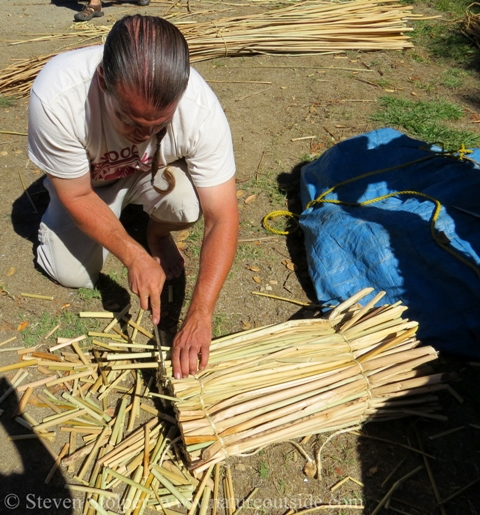
We use a fid, made of deer bone, to push aside the tule so we can thread the rope.
Everything about building the boat is a communal activity.
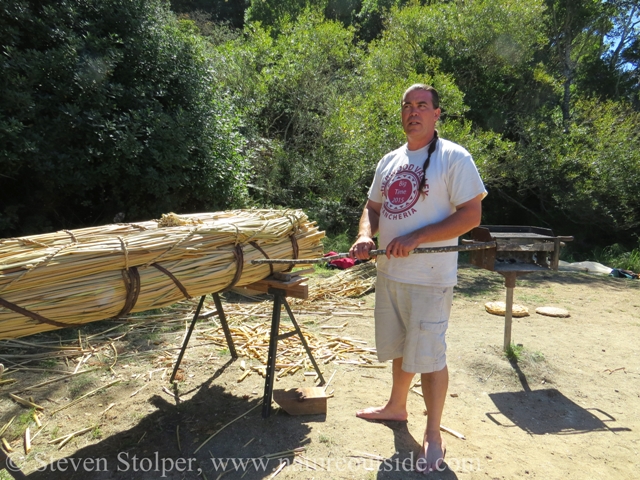
At this point, we use a Japanese butcher’s knife to trim the uneven ends of the large bundles at the stern of the boat. This is done mainly for appearance but also helps reduce drag in the water.
Charlie, our teacher, trims the uneven ends with a butcher’s knife.
Have a Seat
For comfort, we decided to make a seat for the paddler. Raising the paddler above the deck gives him or her a more natural sitting position. And how did we manufacture a seat? You guessed it: Tule.
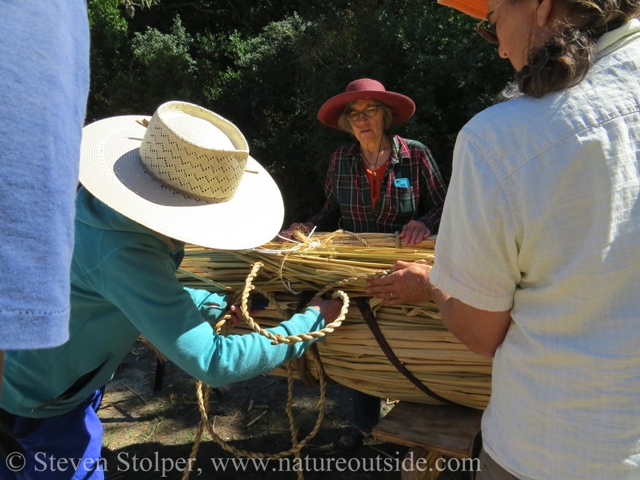
We made a tule mat with enough thickness to do the job. The first step is to prepare the materials. We cut lengths of tule from mid-stem to a roughly uniform length. Then we cut two lengths of heavyweight twine we purchased from a big box supply store. Each length of twine is a little longer than twice the length we want for the mat.
To construct a mat, you grab a large fist-full of tule and reverse-wrap the cordage around it, close to one end of the stalks. It is like making cordage, but at each twist you insert a bundle of tule. When you reach the desired length, you tie off the twine. Then you do the same on the other side. But for rigidity, you make sure to grasp a different sized bundle on the other side of the mat. This makes the stitches join together the bundles created by the first twine.
Making a tule mat. Reverse wrap cordage like you are making rope. But at each twist insert a fist-full of tule.
When we are done, we roll-up the mat and trim the edges of the stems on each side with a Japanese butcher’s knife.
For a neat appearance, we roll the mat up and trim the ends to uniform length with a butcher’s knife.
Here is the finished seat in the boat.
The seat positioned in the boat. The paddler’s weight holds it in place.
Spare the Rod, Spoil the Boat!
The hull is constructed from three large bundles of tule. One problem that can occur is that the three bundles will bob on the waves in relation to one another. For example, as a wave passes underneath the boat, the center bundle rises on the crest while the two side bundles drop into a trough.
Another problem is “sinkage.” If the bundles are not locked to one another, the middle bundle will sink because it is bearing the entire weight of paddler.
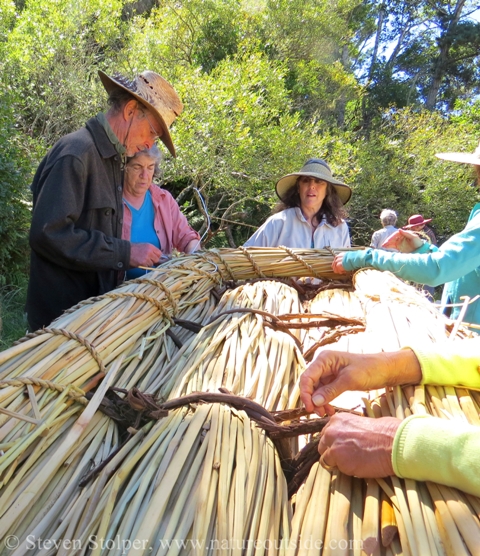
To prevent both of these things, we must anchor the three bundles together. The coupling must be rigid. Our ropes won’t suffice. The solution is to drive a hazel rod through all three bundles to “lock” them together. This keeps them from floating up and down in relation to one another. It also adds rigidity and makes the boat more stable. It’s an amazingly simple solution!
We sharpen one edge of a hazel branch to a point using a knife. The point will pierce the boat between stems in each of the main tule bundles. Then we cross-hammer the hazel rod into the boat underneath where we expect the paddler to sit. We have to be careful! If we pierce one of the bindings in the interior of the boat, the bundles may fall apart as soon as they hit the water!
Positioning the hazel rod prior to hammering it into the boat.
We hammered the rod into the boat with a mallet. But the end of the rod protruded from the hull.
We used a second hazel rod to push the first completely inside the boat.
The rod in its final position.
Go For Launch!
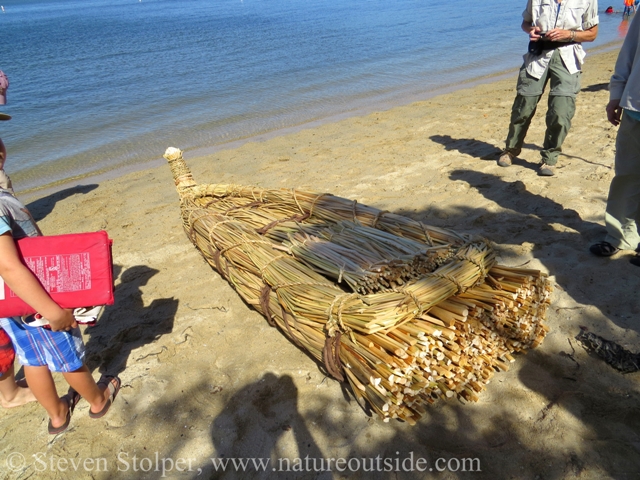
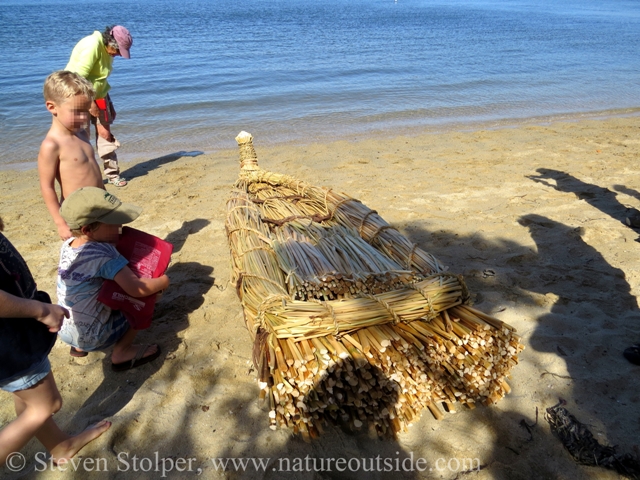
Finally the boat was ready!
The finished boat.
The class began at: 8:30 am and we had completed two boats by 2:20 pm. And this included a 30 minute break for lunch! It proves the adage, “Many hands make light work.”
The cool morning mist had given way to a cloudless sunny sky. When we looked up after completing our boat, we were shocked to be surrounded by beachgoers! Most of us had no idea how they got there – we were too absorbed in building the boat.
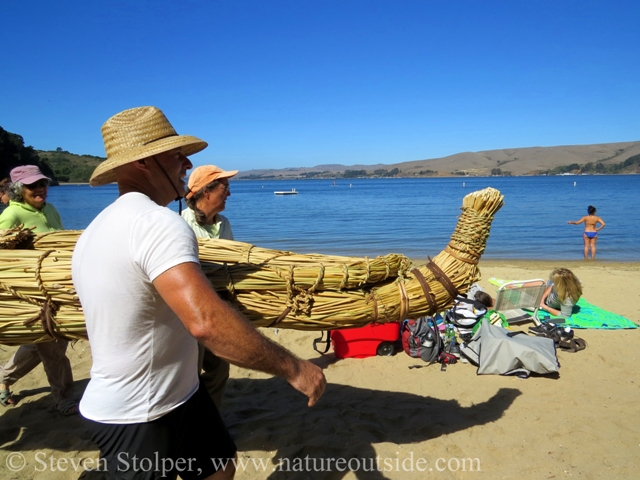
We all enjoyed the festive mood as we hefted the boat we had built. We carried it with the energy of an Olympic torch bearer running into a stadium filled with 100,000 people.
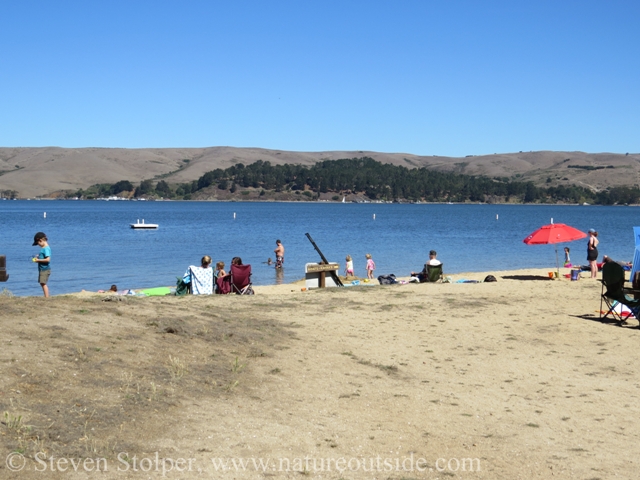
When did these people arrive?
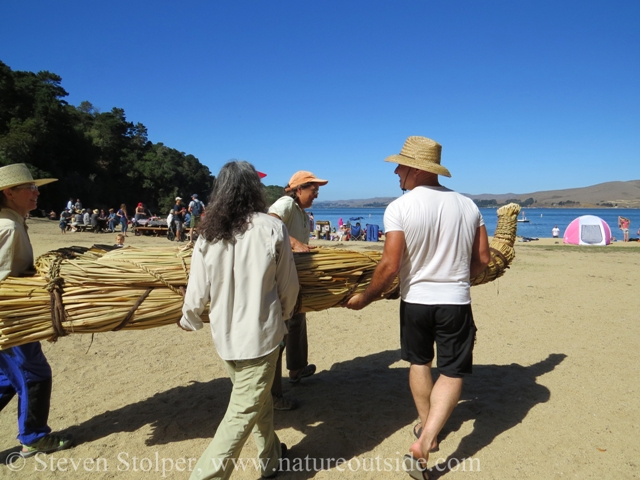
Forward to the water!
Everyone is excited to launch the boat.
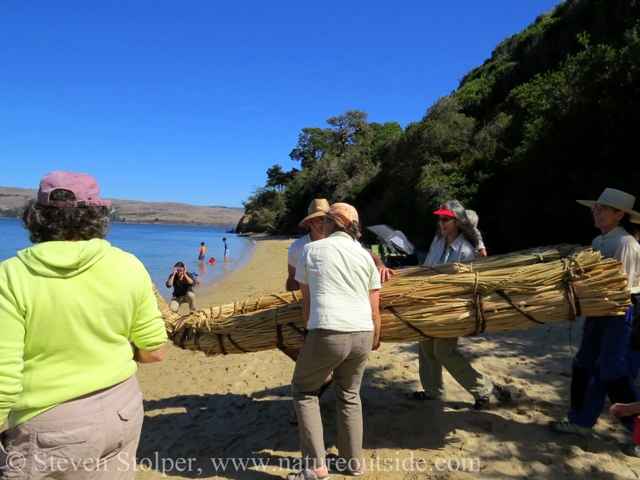
Despite its bulk, the boat is not that heavy.
Ready for launch!
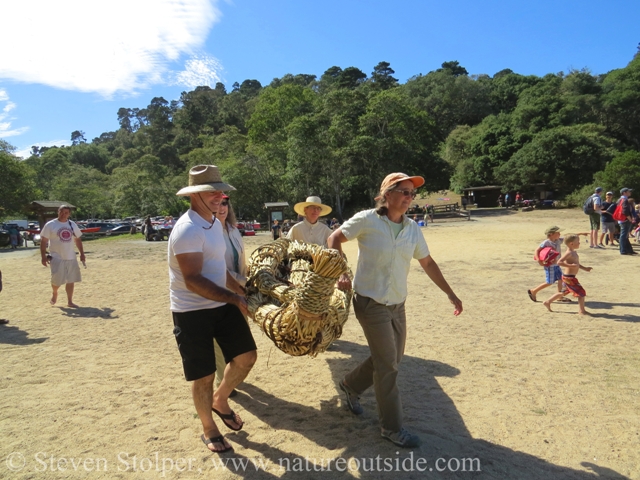
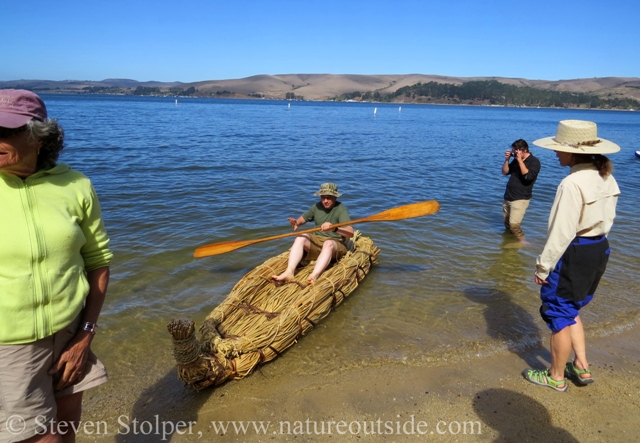
Our activities caught the attention of many in the crowd. There is something about seeing a traditional boat that fires the imagination. The teacher and several students fielded questions from onlookers throughout the morning as construction progressed. Now, the sight of us carrying our distinctive boat to the waterline aroused everyone’s interest. We chose a shallow incline far to the side of the crowded beach.
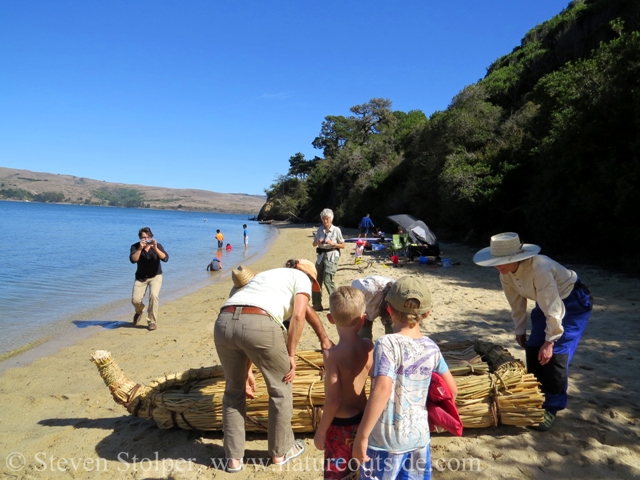
Preparing the boat draws interest from the crowd.
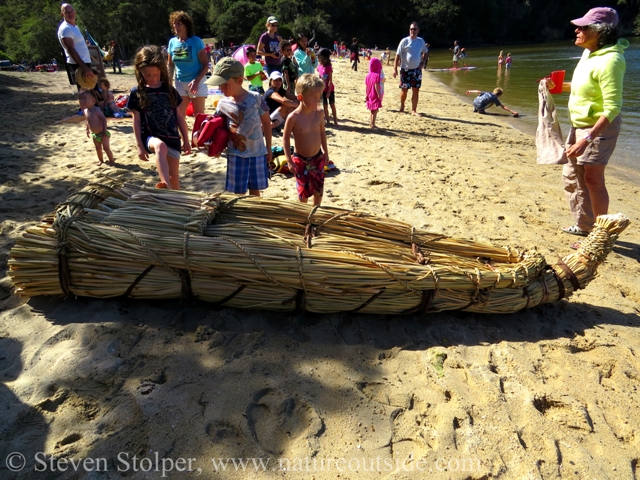
Children were especially captivated by the boat.
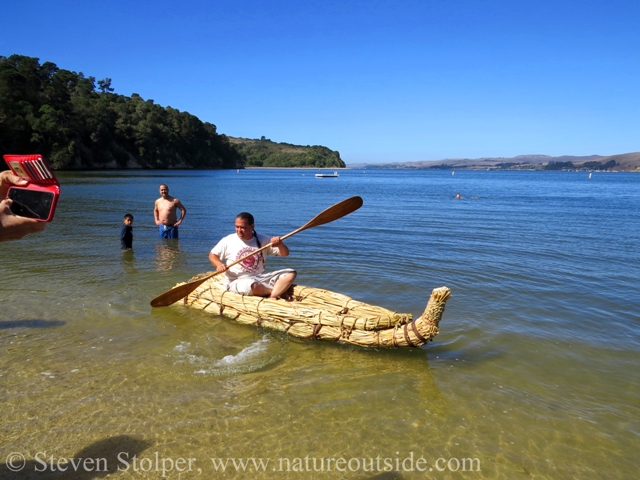
It was time to launch! But would our boat float?
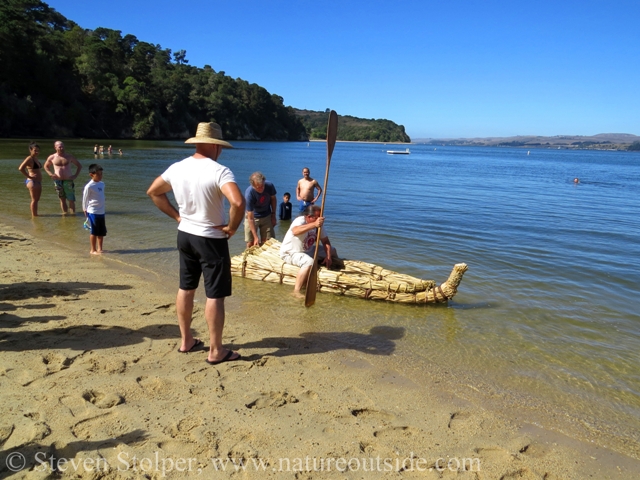
YES!
My Turn
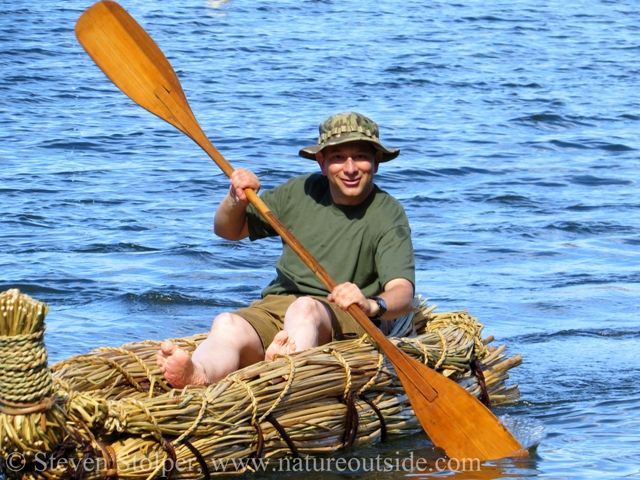
I am the second person to try the boat. I can barely contain my excitement! Unlike the other students, I spent many years paddling sea kayaks. So I had a familiarity with similar one-person vessels. I also cultivated paddling technique over the years and had experience to compare our boat to modern sea kayaks.
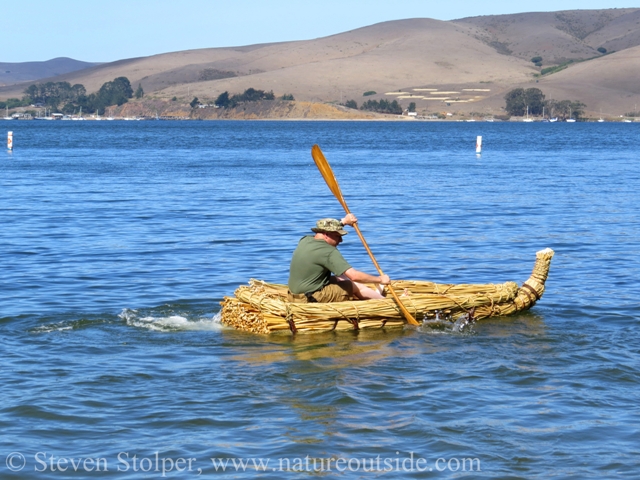
Off we go!
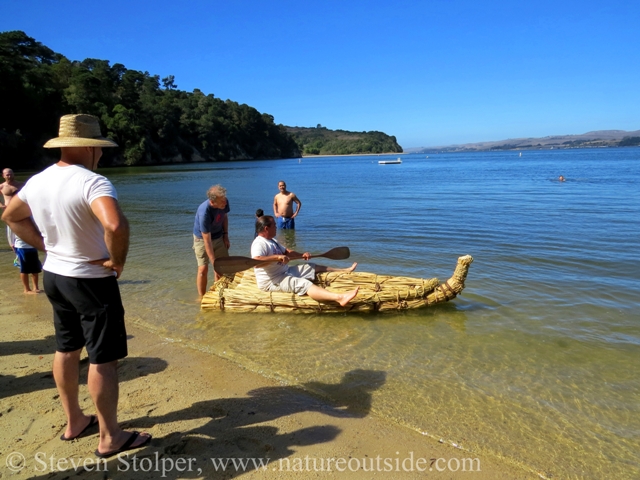
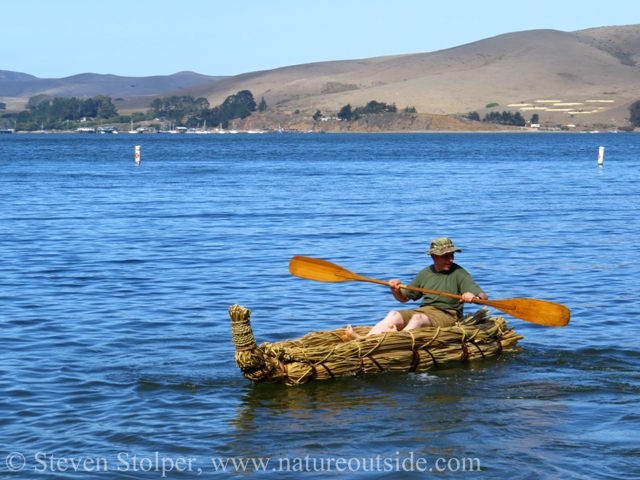
It was delightful! I am astonished by the boat’s buoyancy. The tule supports my 140 lbs. as if I were a feather. The boat rides high in the water, keeping the seat of my shorts high and dry. There was little wind this day, but I suspect its profile is susceptible to being pushed by the wind.
The boat feels stable underneath me. I didn’t try it, but I’m convinced I would have no trouble standing on it to fish.
Conversely, it is easy to spin the nose about. I forward paddled on one side while back-paddling on the other. I could spin the nose through 360 degrees in an impressively short time.
Turning the boat while paddling is more difficult. Unlike a sea kayak, I couldn’t lean it over to help my turns. I also wasn’t going to set any world records for speed. Yet I was surprised how fast I could drive the boat when I paddled hard.
Spinning the boat 360 degrees was fun!
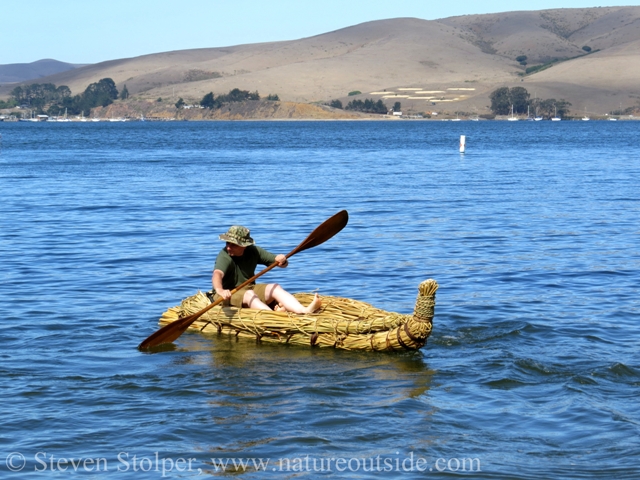
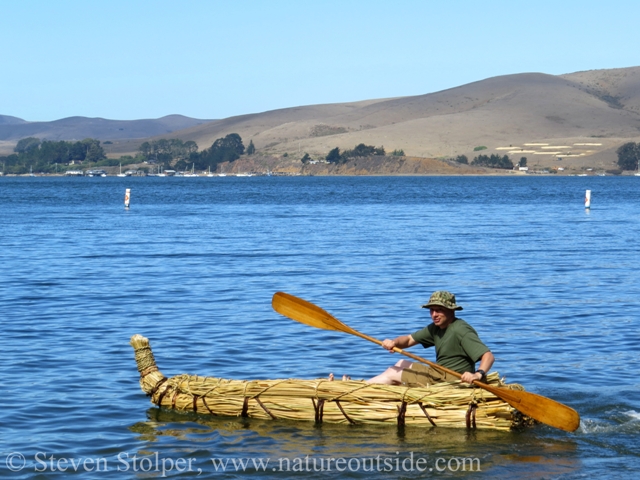
To turn the boat while paddling forward, I “sweep” the paddle wider on one side of the boat.
The boat wasn’t fast. But it traveled faster than I expected when paddled hard.
Paddling heaven!
After the initial flush of excitement, most of the students were content to watch from the shore. So I went out in the boat four times! Each time I paddled farther, explored more of what the boat could do, and just enjoyed myself!
Since nobody was waiting to use the boat, I was able to lean back, close my eyes, and take a five-minute nap. This is not something I would try in a sea kayak! I luxuriated in the warm sun, eyes closed, enjoying the gentle up-and-down of the waves against hull. It was my five minutes of paradise.
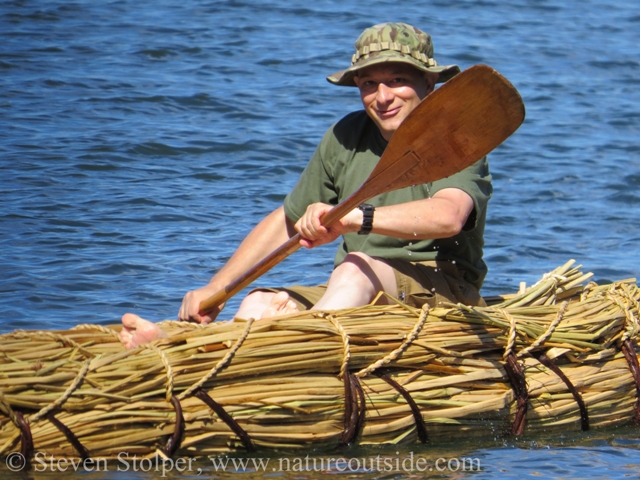
A dream come true!
I expended myself paddling and lounged on the beach, relaxed and satisfied. Charlie, our teacher, let several kayak guides who returned with their groups paddle the boat. We also let a tourist from Briton and her California friend paddle. The boat cast a spell on everyone who paddled it.
Off to the Museum
We pulled our boats from the water around 4:00 pm. We stood them upright to let the water seep out of them.
Charlie, our teacher, was giving our “California Boat” to a Native American cultural center. Our second boat, which I did not discuss, was modeled on a design from Sardinia. One of the students loaded it into the bed of her pickup and left with an incredible prize!
Conclusion
The entire boat-building experience was thrilling for me. It was the first big project I participated in where we applied bushcraft skills to construct something wonderful.
I plan to try it again in the future. I had the chance to try every technique once, but photographing the process kept me from spending long periods practicing the skills. The next time I help build a boat, I plan to leave my camera behind and concentrate on building upon the skills I learned today.
What is the biggest project you ever participated in that used traditional skills? Tell me all about it in the comments below.
Related Articles on NatureOutside
Building a Tule Boat! (Part 1 – The California Boat)
The Tuibun of Coyote Hills (Part 1)
10 Traditional Skills You Should Learn
For fun facts and useful tips, join the free Bushcraft Newsletter.


Leave a Comment