
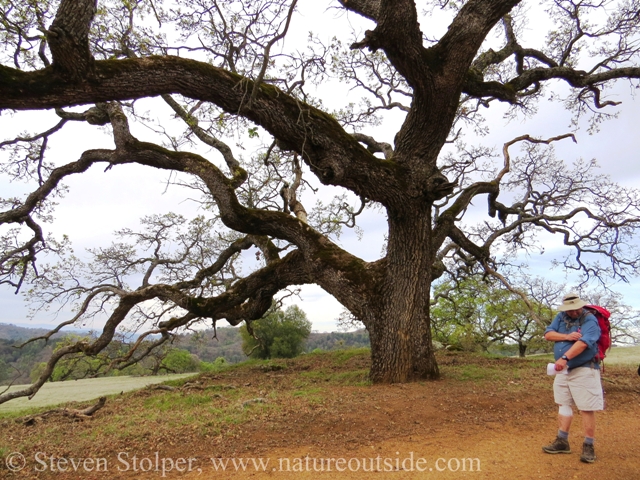
Hiker and oak tree in grassland
When we gather, process, and cook acorns, we connect with nature in a way that is absent from our modern lives. It allows us to revive the ancient connection between nature and sustenance – from harvest to table.
Making acorns into food is simpler than you think! In Part 1, we reviewed the steps required to process them. We learned about acorn nutrition, and how to harvest and store them. In this article, we talk about the equipment we need and how to shell and grind acorns. We learn about tannins, and why we must remove them from the acorns before we can use the nuts as food.
Equipment
For the following steps, you need some simple equipment. You probably have these items in your kitchen already. But if not, don’t worry. The equipment is relatively inexpensive.
Here are the players:
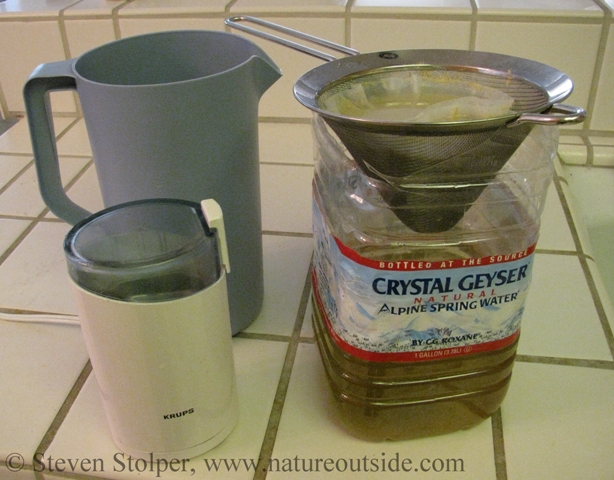
Equipment I use to process acorns
- Pitcher (to hold water)
- Coffee or seed grinder (easy to clean blender can substitute)
- 1 gallon plastic water jug
- Small strainer/colander (one shown is conical, I have since switched to semi-circular)
- Coffee filters that fit the strainer you have selected
Not shown:
We use the mallet and the dish towel to shell the acorns. The grinder, pitcher, jug, filters, and strainer help us leach out the bitter tannins.
Shelling

Shelling with a mallet and dish towel
I never much considered the value of metal nutcrackers. But when you stop and think, early hunter gatherers did not have these useful devices. How did they shell acorns?
Acorns have a distinctly rounded side and a more pointed side. The technique was to place the acorn rounded-side-down onto a hard surface. The pointed side was then struck firmly with a rock. The nut splits longitudinally, allowing access to a large, unbroken, nutmeat. This is the way I do it when I am in the field leading group hikes. The best acorn-shelling tool for this purpose is the pommel of my Fallkniven F1. 🙂
When processing acorns at home, I generally shell 20 or more depending upon how much acorn meal I require. Individually cracking each acorn quickly becomes tedious. My solution is to lay a dish towel onto a hard flat surface like a cutting board. I lay five or more acorns onto half of the towel. The acorns lie on their sides. I fold-over the towel to cover the acorns. Now comes the fun part! Using a heavy rubber mallet, I strike each acorn through the towel. It takes a very short time to gain the skill to strike each nut in the towel without looking at them. This approach cracks the nut enough to remove the nutmeats.
|
NOTE:
|
Once you remove the nutmeat from the shell, remove the testa. This is the reddish brown paper-thin coat that surrounds the nutmeat. You may have seen them on peanuts. In many species the testa is highly concentrated with tannins. It will make your leaching job easier if they are not in the flour. This can be done by rubbing/pulling it off. If it obstinately clings to the nutmeat, you can wet the acorn and try to remove it. Or, you can split the nutmeat with a knife to remove the testa where it clings to ridges.
|
NOTE:
|
Tannins
From time to time I lead group hikes. During acorn season I make sure to shell an acorn during each of them. I shell acorns in the field because I think everyone should taste unprocessed acorn. It gives one a tremendous appreciation for the intelligence of our ancient ancestors. Wherever acorns occur around the world, people figured out how to process this bitter tasting nut into a nutritious food. I recommend that you shell an acorn and taste a piece of the nutmeat. Let it sit on your tongue a moment. Then, spit it out – you will know when. 🙂
|
NOTE:
|
The bitterness you taste is from tannin compounds (tanic acids). Many plant species have tannins and scientists think they help protect the plant from predation. It certainly keeps me from preying on them! Tannins also help preserve the nutrition of stored acorns. The chemicals may also act as pesticides and regulate processes within the plant.
Tannin compounds have a bitter astringent taste. You may have encountered them in dry red wine. Tannins bind and precipitate proteins. This chemical effect is precisely why they are used for “tanning” leather. If you consume too much tannin, it will act this way on the proteins of your stomach. Having my stomach “tanned” does not sound like much fun.
Tannins are highly water soluble. The redwood forests in my area have creeks that run brown-orange because of tannins leaching from decaying vegetation on the forest floor. And that is the key! Ancient cultures realized that tannins could be leached from the acorns using water!
Traditional Methods of Leaching Tannins
Native peoples in my area ground the acorns using bedrock mortars. This increased the surface area exposed to water during the leaching process. It made leaching more efficient and reduced the time to complete the task.
In California, many Native American groups leached the bitter tannins by digging shallow pits and lining them with sand. Over the sand they placed a layer of (non-toxic) leaves. They spread ground acorn onto the leaves and poured water into the pit. The water leached the tannins from the acorns and diffused through the porous sand, carrying away the tannins. The leaves prevent the sand from contaminating the acorn meal.
Some native tribes in Washington State employed a different technique. They placed the ground acorn into tightly woven mesh bags. They tethered the bags in a flowing stream for three days to leach the tannins.
Once the tanins are removed, the nutritious contents of the acorns become available to us. In the following steps, we grind our acorns and leach-out their tanic acids.
Grinding
Our ultimate goal is to remove the tannins from our acorns. We do this by dissolving the tannins in water. We could immerse the whole nutmeats in water, but it would take a long time to leach the tannins from the interior of the nuts. Heating the water might help, but this approach consumes a great deal of energy.
So like the Native Californians before us, our solution is to grind the acorns into flour. This increases the surface area exposed to the water and greatly increases the efficiency of the leaching process. The Ohlone Peoples indigenous to my area used bedrock mortars to grind the acorns into flour. Below is a picture of a bedrock mortar site.
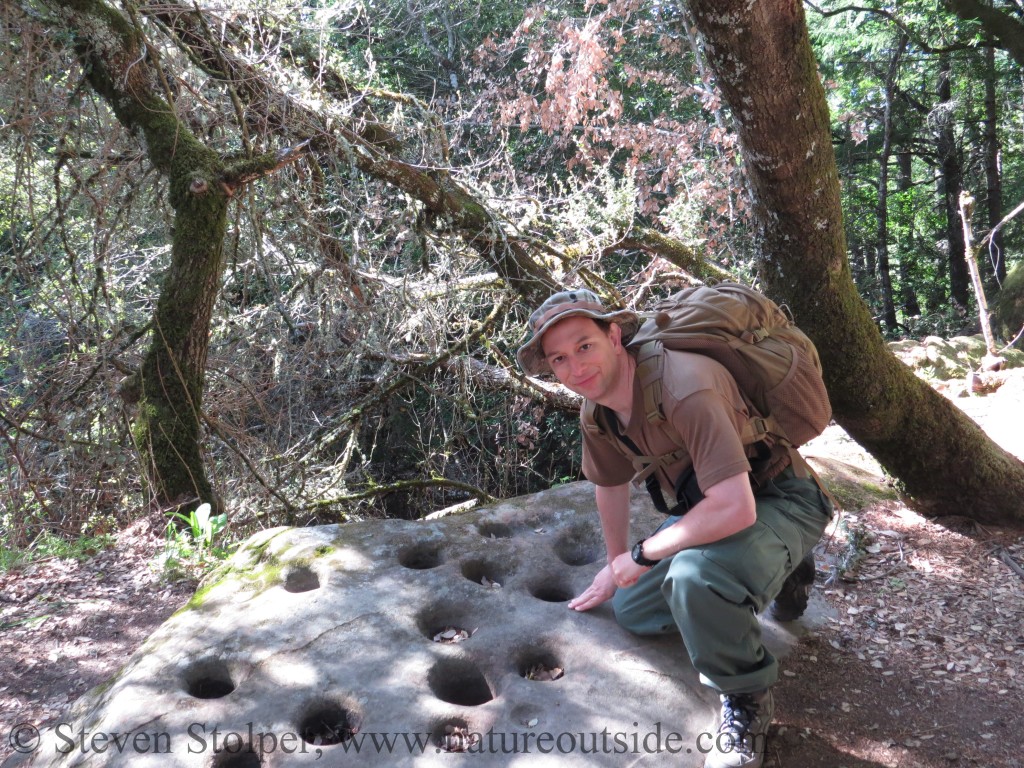
Ohlone bedrock mortar
I use a KRUPS electric coffee/spice grinder to grind the acorns. It is pictured near the top of this page and costs about $20. I tried grinding them in the traditional way with a mortar and pestle… once! The electric grinder is a must-have labor saving device. If you have a blender, you can use it. But be certain that it is easy to clean. The advantage of the dedicated grinder is that it is easy to clean and won’t accidentally contaminate someone’s smoothie with tannins. 🙂
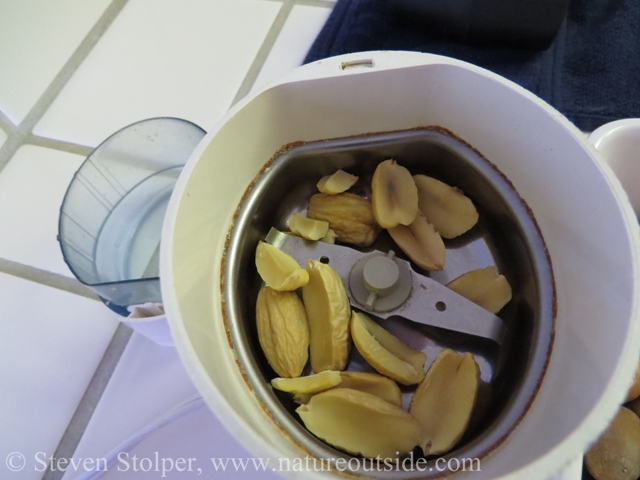
Modern Grinding
I shell about 5 nuts, remove the testa, and dump them into the grinder. After grinding, I unplug the grinder, remove the top (also acts as a trigger safety), and spoon out the ground acorn. I follow this flow pattern (unplug, remove top, spoon) to be certain there is no way the grinder can engage while I am spooning/adding acorns.
Any acorn pieces that are not ground completely into flour are left in the grinder. I add more acorn nutmeat, put on the top, plug, and grind.
I find that dried acorn grinds more easily than “fresh” acorn. The “fresh” acorn has moisture in it that tends to cake the ground nutmeat. It is easier to reduce dried acorn to flour.
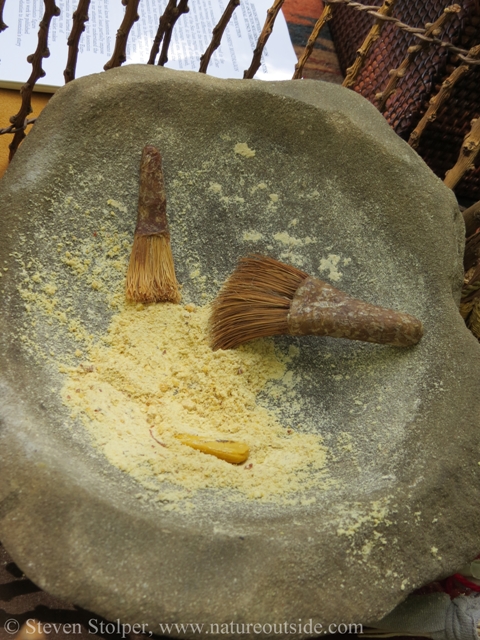
Stone mortar and soaproot brushes with acorn meal.
(Brushes by Vera Powers)
In the final installment, we leach our acorns and discuss cooking.
Here are the other articles in this series:
Part 1: Nutrition, Steps, Harvesting, and Storing
How to Make Orange Acorn Bread
If you liked this article you might also enjoy others in the edibles section or the skills section.


Leave a Comment