
Tracking with wolves! Perhaps that’s a good title for Kevin Costner’s sequel? It was exhilarating spending the day with our wolf instructors, Harley and Shadow.
In part 1, I describe why I wanted to learn to track them. We met the wolves in part 2 and learned about their various gaits.
In this final installment, we look at galloping and jumping. I will share how we studied the wolves’ tracks and made plaster casts to take home with us. These are things you can do with tracks you find in the field. Finally, we close with a discussion of the mysterious wolf, OR7.
Gallop
If you have seen horses run, you are familiar with a gallop. The animal pushes off with its rear legs, flies through the air and lands on its front legs. The rear legs come all the way up, or past, the front legs and the pattern repeats.
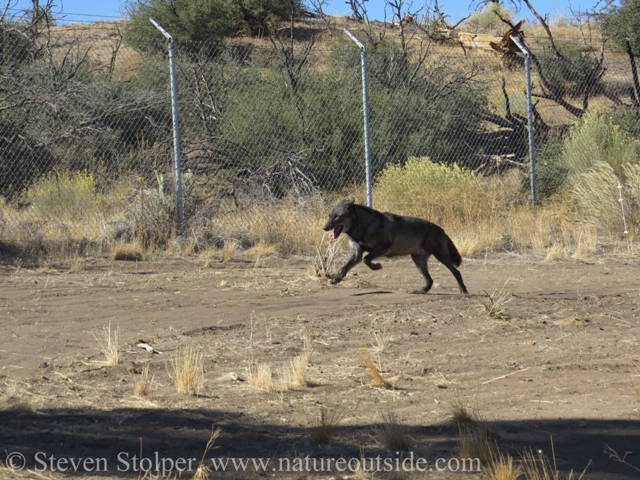
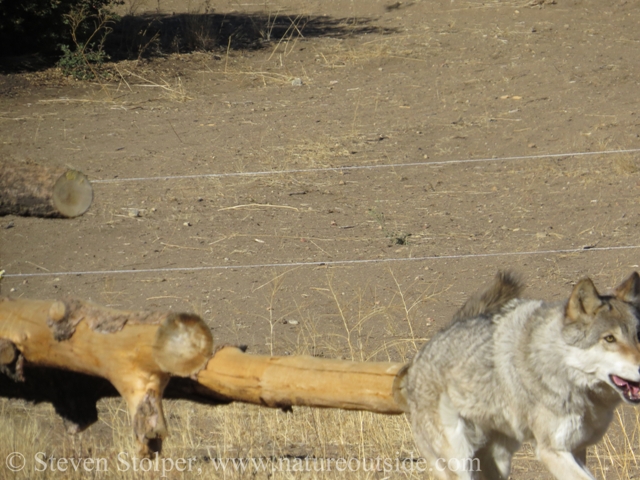
When the wolves want to move fast, they can fly! To demonstrate a gallop, Chris and Bobi stood at opposite ends of the enclosure and took turns calling the wolves. When the wolves arrived, they were given a reward. It quickly turned into a massively fun game! The next seven pictures show Shadow approaching Bobi for a reward. I suggest you try to scroll through them as fast as you can. It helps to see how Shadow is moving.
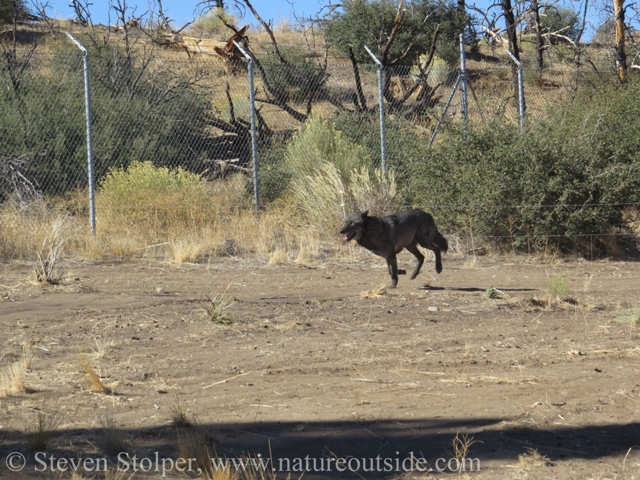
Shadow galloping (1 of 7)
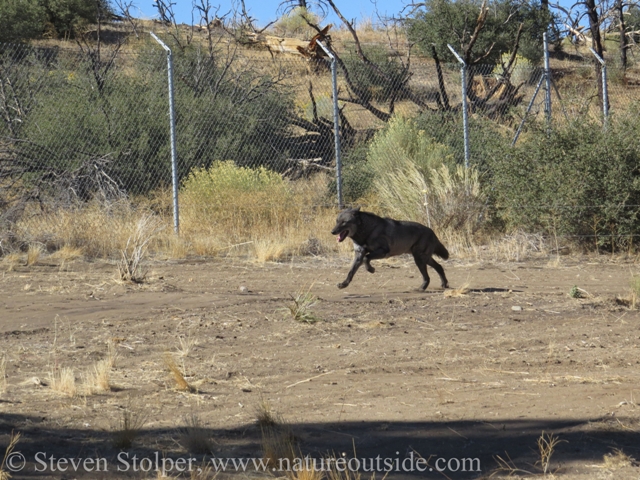
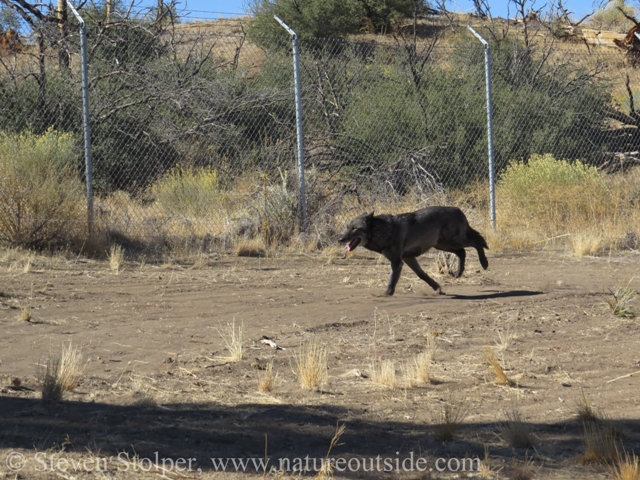
Shadow galloping (2 of 7)
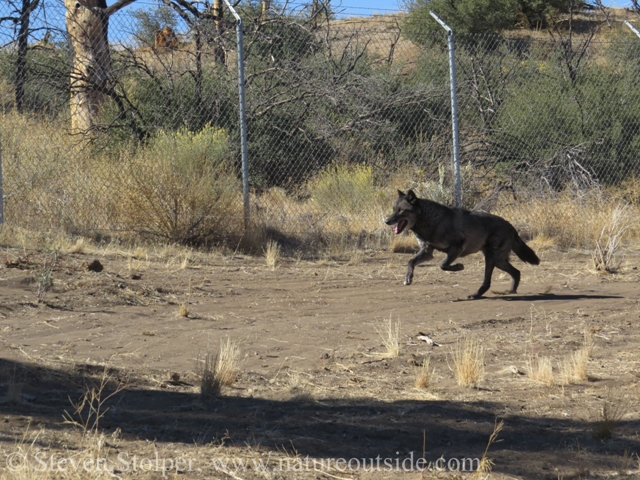
Shadow galloping (3 of 7)
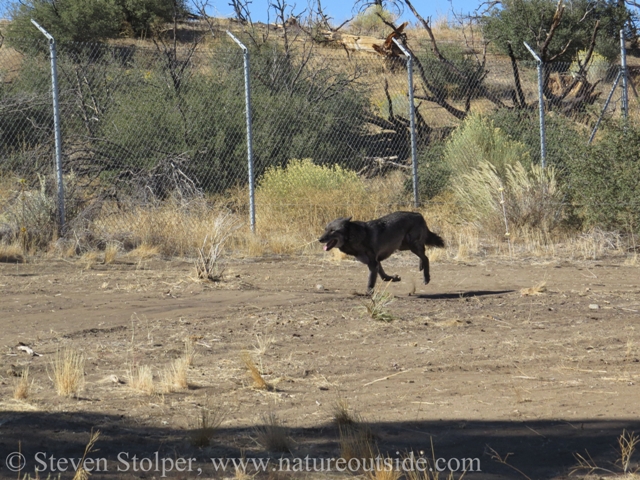
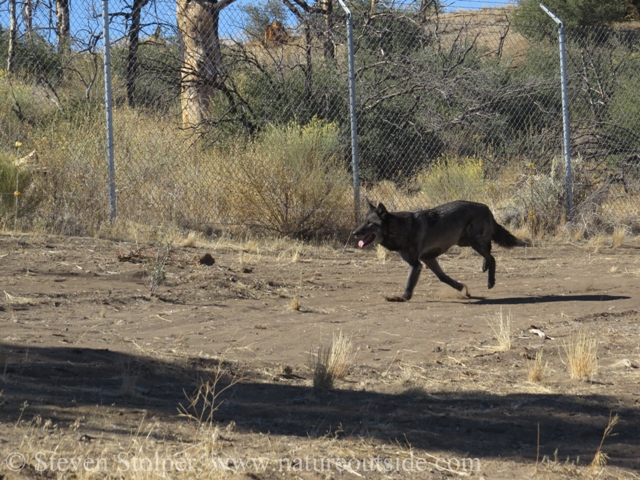
Shadow galloping (4 of 7)
Shadow galloping (5 of 7)
Shadow galloping (6 of 7)
Shadow galloping (7 of 7)
And the reward, still at a full run…
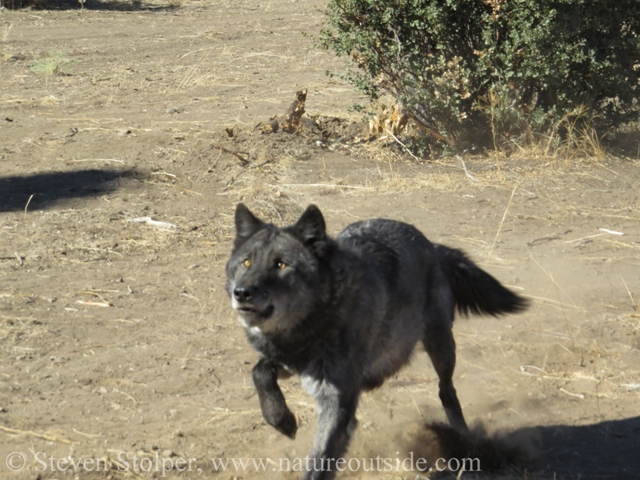
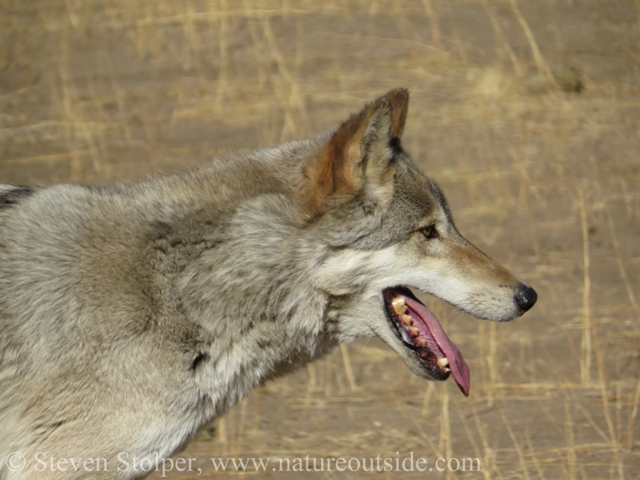
Their speed and agility are deceptive. Like great athletes, they are so smooth that you do not sense the speed until they are upon you.
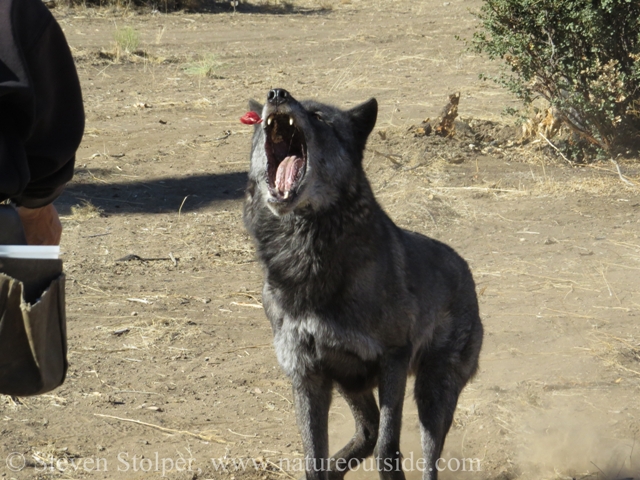
Leaping, still at the run, for the reward.
Reward received.
Jump! Jump!
We also asked the wolves to perform some unusual maneuvers. For example, we asked them the jump from their favorite downed tree.
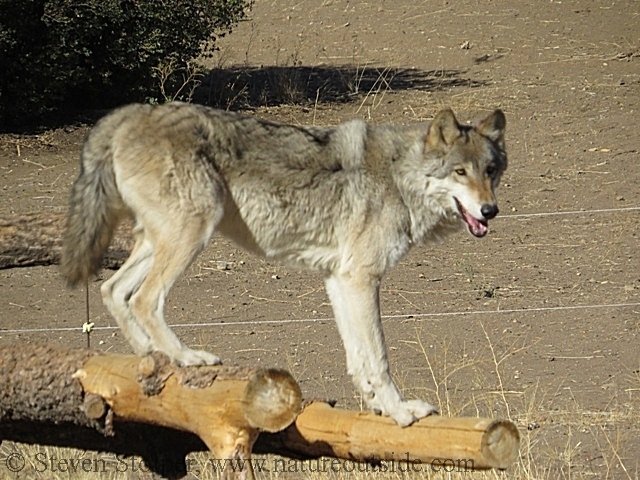
Looking around from on high.
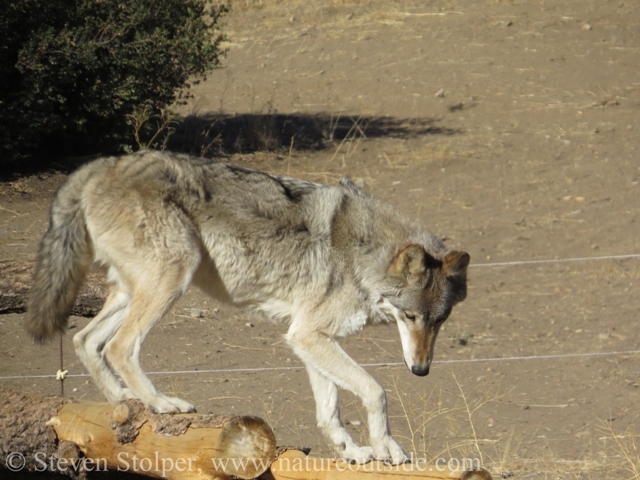
Harley, Preparing to jump
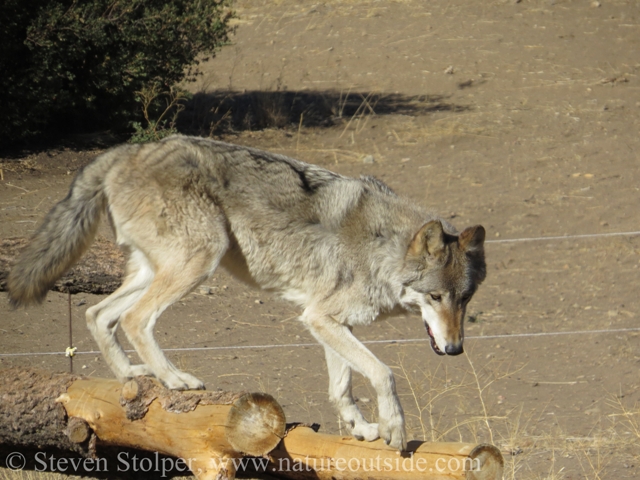
Harley starting his jump.
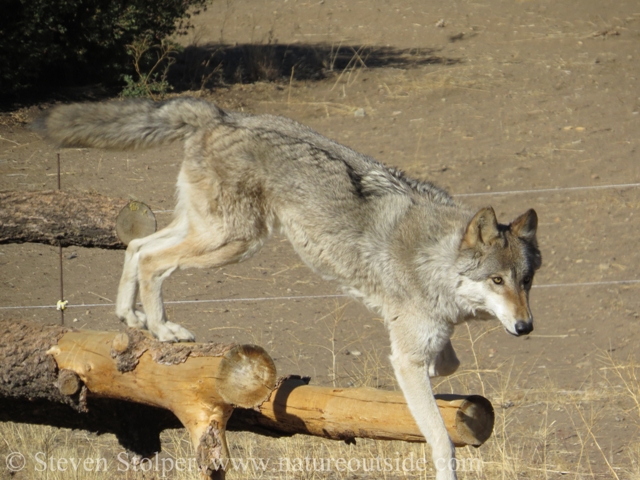
Harley jumping from fallen tree.
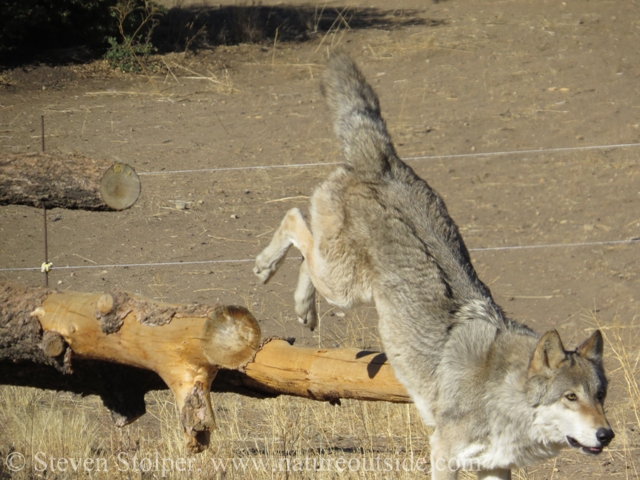
Harley in mid-jump
It is hard to tell from this photo, but Harley stuck the landing.
A One Tracks Mind
After each gait or maneuver, the wolves returned to their trailer. The class then entered the enclosure to examine the tracks they left behind.
We had created a “sand trap” by laying a tarp on the ground and covering it with sand. To our horror, we realized that the sand we selected was too granular to yield detailed tracks. Luckily, there was a light coating of dirt and dust on the ground that gave us ideal tracks to study.

Both wolves curiously explored our sand trap. They could feel the difference in texture and moisture content of the sand.
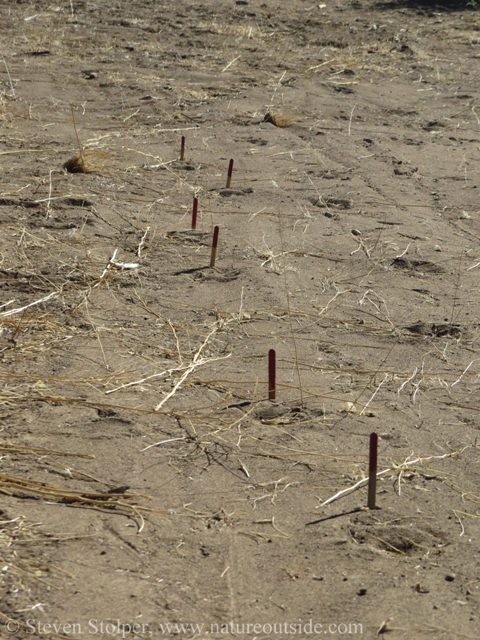
As we approached each set of tracks, we observed their pattern on the ground. This gave us the gait the animal used to make them. But it is not so easy! First, we had to locate each track, determine whether it was a left or right, front or rear. As we did this, we used colored Popsicle sticks to mark the tracks. Doing this helps to expose the pattern on the ground.
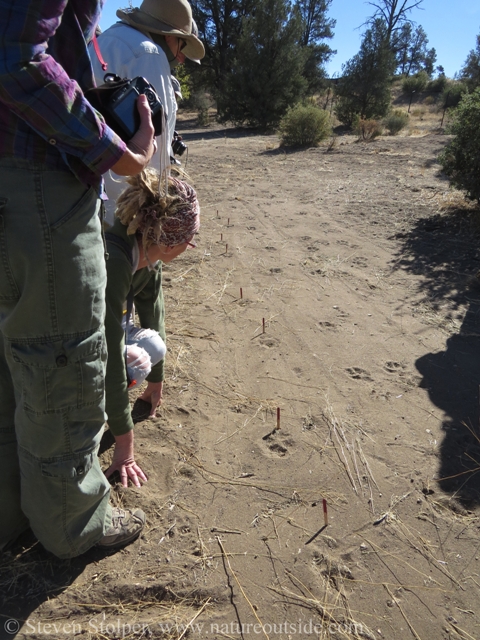
Looking for a track pattern that will tell us the gait the animal was using.
When the tracker understands the gait, he or she can visualize how the animal’s legs were moving.
The tracks themselves were enormous! Harley, a 120 lbs wolf left front tracks of 3.75” x 4.75” (9.53cm x 12.07cm). His rear tracks measured 3.125” x 4” (7.94cm x 10.16cm).
It is not very scientific, but I use my hand (clenched fist) as a baseline to estimate size and weight from a track. I have a “mental map” of the size of my hand to the tracks left by animals whose weight/size I know. One of my goals for the wolves was to be able to build an analogy for their tracks. Harley’s front track was not quite as wide as my fist.
I know it is not scientific to use my hand. But, I always seem to have at least one of them with me when I’m out tracking. 🙂
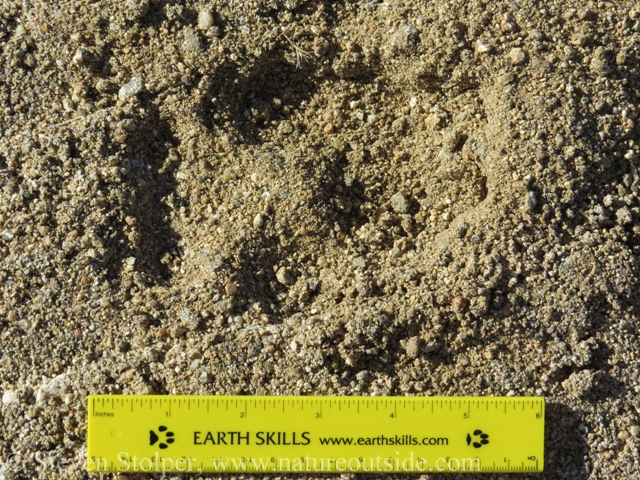
Wolf track – front
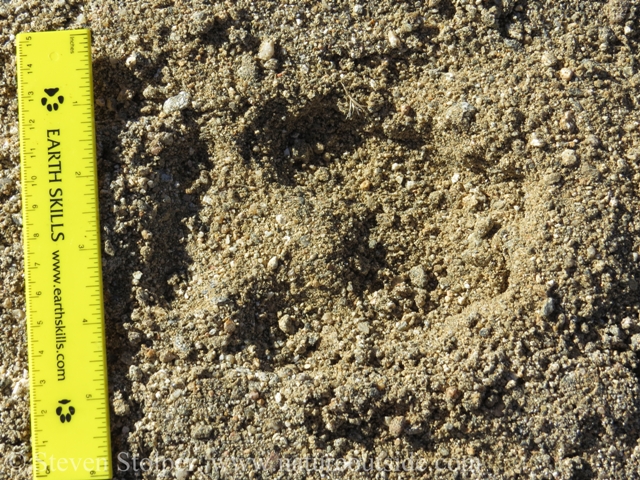
Wolf track – Front
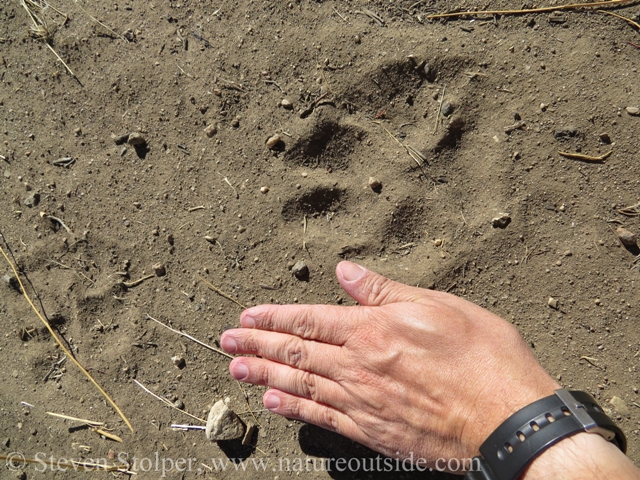
I try to get an intuitive feel for the size and weight of the animal by measuring tracks against my hand (clenched fist). Observing captive wolves allows me to calibrate my approach.
When you look at a track, you try to place it between yourself and the sun. This brings out the greatest relief and prevents your shadow from falling over it. When you measure the track, be careful to only measure the bottom or “floor” of the track. This helps compensate for wet or sandy substrate that may make the track appear larger.
If you look closely, you will notice that the wolves’ claws do not register in the dirt. It appears that the animal is built for speed, and the claws digging into the ground would just slow it down. Although, we did find other instances where claw marks showed as the wolves walked across wet ground.
Plaster casts
The day was long, but exciting. Eventually the wolves retired to their trailer and we practiced making plaster casts.
If you have never tried this before, I heartily recommend it. There is something wonderful and satisfying about returning from the forest with a plaster cast of a wild animal track. You can sit in your living room, in a quiet moment, and experience some of the magic and mystery of the forest by handling the cast. You are holding in your hands the physical evidence of a wild creature that walked the Earth.
It does not take fancy materials to make a cast. Here is what you need:
- Plaster of Paris mix
- A plastic cup for mixing
- Water
- A plastic knife or spoon for stirring
- A trowel for digging up the cast after it sets
That’s all it takes! Here is how you do it:
Step 1: Fill a plastic cup ¾ full with Plaster of Paris
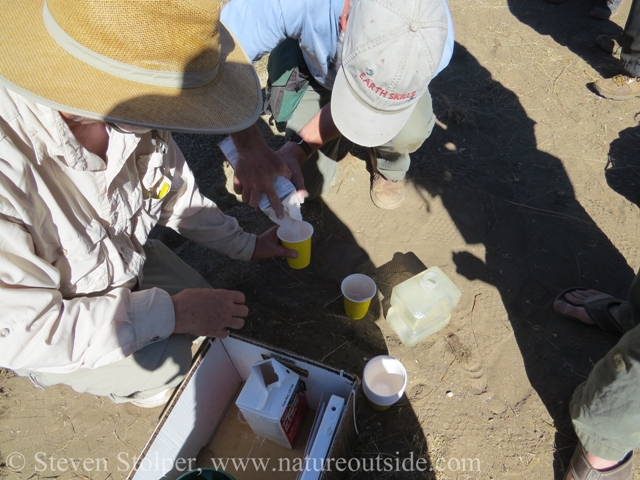
Pouring Plaster of Paris mix into plastic cup
Step 2: Add water and stir with plastic knife/spoon until the mixture has the consistency of thick pancake batter. If yours gets too watery, add more Plaster of Paris.
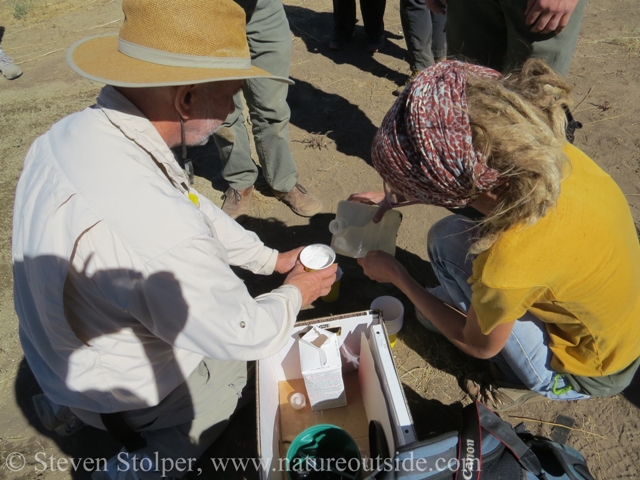
Add water and stir until the mixture has consistency of thick pancake batter.
Step 3: Pour mixture onto the track. Cover the entire track and place a good amount around the perimeter. Don’t worry if it isn’t a perfect circle. You can sand it later if the shape is important to you.
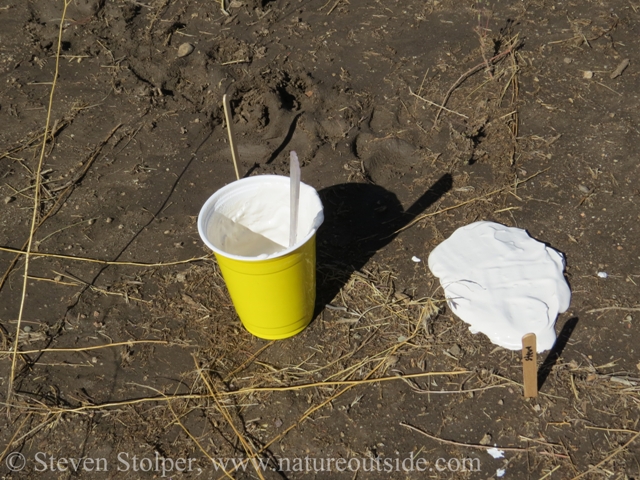
Pour the plaster mix into the track. Make sure you create a thick base wider than the diameter of the track.
Step 4: Let cure for at least one hour. The exact curing time is a function of temperature and humidity. If there is foot traffic in the area, fence the plaster off while it dries.
Step 5: After you are certain that it is dry, use the trowel or an unloved knife to dig around it and slightly below it. Leave plenty of dirt/space around the cast! You do not want to risk fracturing the plaster. Gently lift the cast, dirt and all, from the ground. This is the most delicate part of the operation.
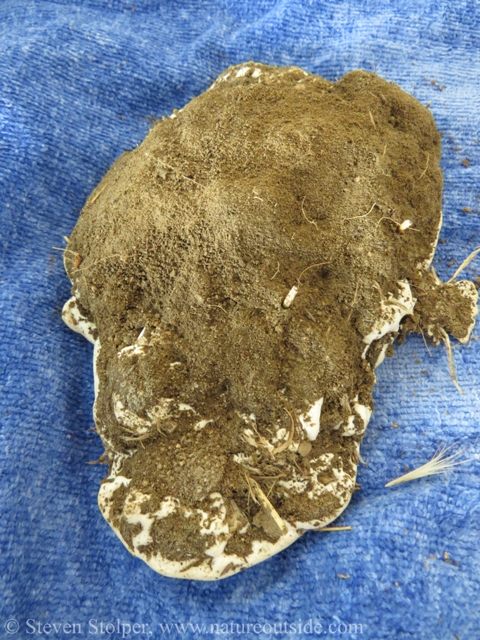
The cast after removal from the ground.
Step 6: Let the plaster continue to dry overnight.
Step 7: Clean off the dirt. I use the denture brush that I use to clean my boots.
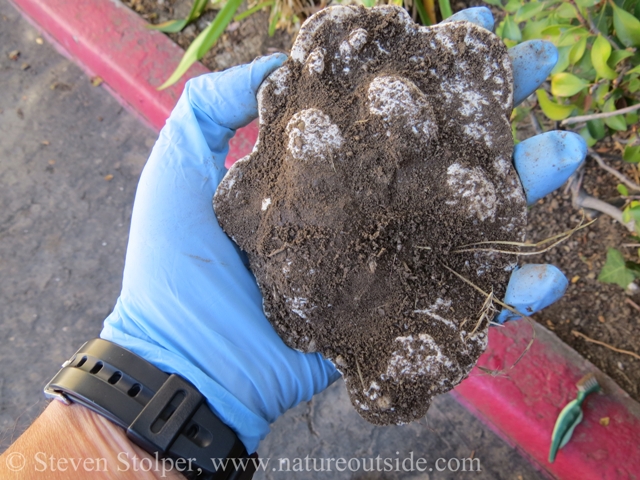
Holding the cast with my left hand, I scrub it with a denture brush to remove the dirt.
Step 8: You can sand the edges of the cast if you want a more perfectly shaped base. You can add more plaster to your cast if the base looks like it is too thin and fragile. If you add more plaster, you will have to let it dry overnight before you continue.
Step 9: Label the cast on the back of the base using a sharpie marker or a pen
Step 10: If you want to keep the cast for a long time, coat it with clear polyurethane to keep it from drying and cracking. You can use a paint brush to apply the polyurethane.
Step 11: Enjoy the memories!
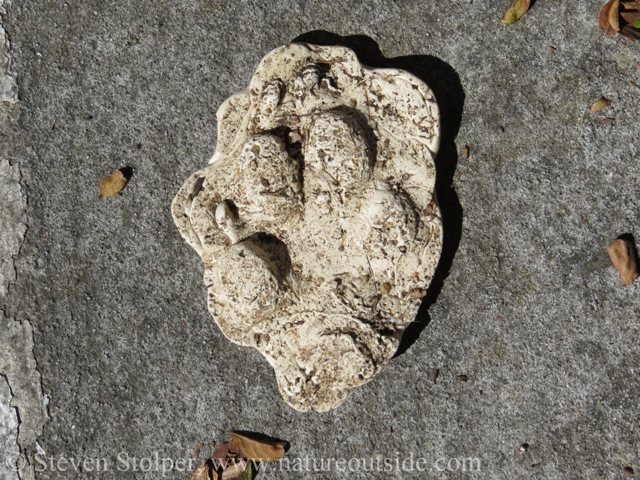
The cast before labeling and coating with polyurethane
Wolf OR7
It is true that California no longer has a resident wolf population. But that does not mean that there are no wolves in California!
On Dec. 28, 2011 a 2 ½-year-old, male gray wolf entered California after traveling from northeast Oregon. Designated OR7, he was migrating from his home range. This behavior, called dispersal, is not uncommon for a wolf his age.
Before OR7, the last confirmed wolf in California was seen in 1924 (the resident population was extirpated from California sometime in the 1800’s1). Wildlife managers have anticipated that wolves will eventually enter California, and have been preparing for the event. Note that any wolf that enters California is protected as endangered under the Federal Endangered Species Act.
OR7 routinely travels between California and Oregon. He has been fitted with a tracking collar that allows scientists to monitor his movements. Here is the latest as of February 2014:
In 2014, OR7 has briefly entered California on two occasions. The first instance occurred on January 11 and lasted until January 13 when he returned to Oregon. The second instance was on February 5 when he was present for only a few hours before returning to Oregon, where he remains.
I find this downloadable PDF map of his travels fascinating.
A Howling Good Time
The “Wolf Class” was a unique and extremely valuable learning experience. I hope you enjoyed reading about it, and that it encourages you to rise from the couch and go looking for tracks of your own.
Whether you casually observe tracks as you hike or make plaster casts of your own, please let me know about your adventures in the comments below. I would love to hear what you find!
Professor Harley says, “Goodbye!”
References
1. The Former Distribution of Gray Wolves in California, Ronald M. Jurek, California Department of Fish and Wildlife, 1994
2. California Department of Fish and Wildlife
More Wolves on NatureOutside
Wolves Teach a Master Class (Part 1)
Wolves Teach a Master Class (Part 2)

Leave a Comment