
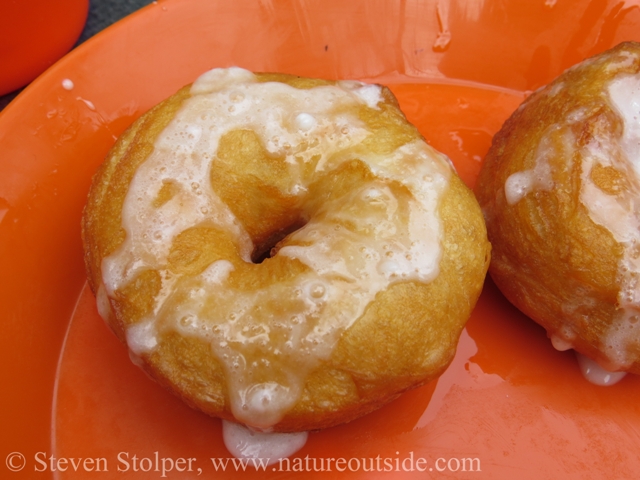
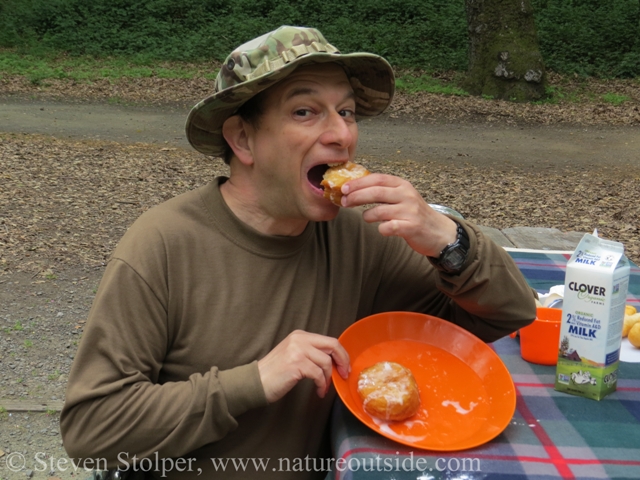
Mmm… doughnuts!
Awake at Dawn
My eyes pop open and I’m momentarily disoriented. I’m lying on my back, ensconced in the warm cocoon of my sleeping bag. My eyes wander along the low ceiling of the tent. Enough light filters through its translucent sides so I can just resolve a stuff sack lying at my feet. This means it’s time to get up.
I roll over onto my side and remember the old joke – Mornings come in three sizes: early, too early, and way too early!
My body aches in all the right places from yesterday’s hike into camp. As I inhale the chilly air, I feel rather than see the condensation on the tent’s outer walls.
Unfortunately, there’s no snooze button in a tent. So I grab today’s clothes from the stuff sack I use as my pillow. At least they’re warm!
The morning mist muffles my footsteps. I make my way to our improvised camp kitchen just as the birds begin their morning chorus.
I’m not the first person awake this morning – I never am. And I greet the rest of our group with the joke about wanting to get up at the crack of noon.
I watch my friends jealously as they sip their morning coffee. Some people aren’t human until they have their first cup. But I’m not a fan of hot drinks and don’t drink the brew. I don’t suppose I’m missing much. But I envy how coffee rouses my friends in the morning.
Make Getting Up in the Morning Easier
Do you find it tough to get going in the morning? I do! Unlike my friends, I don’t have steaming coffee to look forward to. Granola with some dried fruit? Nah. An egg or even some warm bacon? Getting better. But none of it can entice me out of a warm sleeping bag on a frosty morning.
It wasn’t until recently that I found my morning muse: Piping hot doughnuts with sugar glaze on top! I discovered these ring-shaped treasures one morning while learning to track black bear. The guides, Preston and Matt, rose early prepare them. What a treat! The hot sugary wonders warmed my heart.
Holey Doughnuts, Batman!
I’d like to show you how to prepare doughnuts while camping. But first, a short history…
Did you know that doughnuts have been around in one form or another for so long that archaeologists have found fossilized doughnut remains? Apparently, they’ve uncovered fossilized bits of what look like doughnuts in the middens of prehistoric Native American settlements.1 Wow!
But the modern doughnut as we know it may have arrived in Manhattan early in our country’s history. New York City was still “New Amsterdam” and the doughnut-like cakes had the Dutch name of olykoeks (oily cakes).1
In the mid-19th century, the mother of a New England ship captain, Elizabeth Gregory, made deep-fried dough that contained nutmeg and cinnamon from her son’s spice cargo, along with lemon rind. It’s possible she made them so her son would have long-lasting pastries with enough citrus to ward off scurvy. Gregory put hazelnuts or walnuts in the center, where the dough might not cook through. Supposedly, this is how doughnuts (donuts) came by their unusual name.1
Her son claimed credit for the doughnut hole. But the reason he made them is subject to controversy. Was it to make the ingredients go further? Was it so they fit over the spoke of a ship’s steering wheel? There is no consensus among the many possibilities.
Whatever their origin, doughnuts are very popular today. In the U.S. alone, more than 10 billion doughnuts are made each year. The largest ever made was a jelly doughnut 16 feet in diameter and 16 inches high in the center. It weighed a whopping 1.7 tons!2
Make Doughnuts in Camp
Making doughnuts is easiest in a car-camp or base-camp setting. You can certainly make them on a backpacking trip, but it may not make sense. Two of the ingredients require refrigeration. And another consumes more weight and pack space than bringing pre-made doughnuts. So I don’t usually prepare them when I’m backpacking. But I’ve certainly thought about it for shorter 2-day backpacking trips.
Ingredients
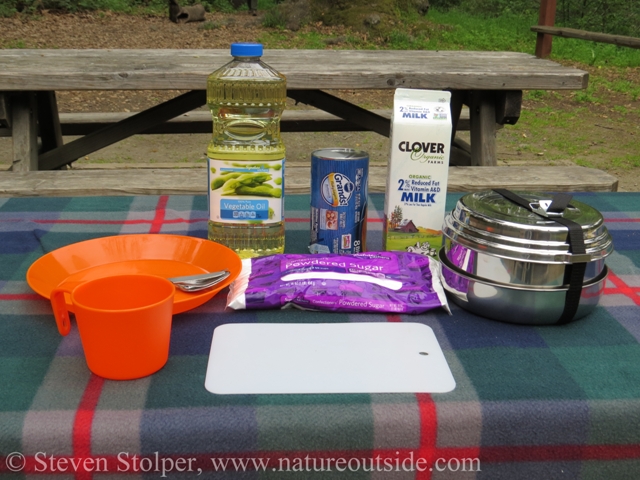
Ingredients, from left to right: vegetable oil, powdered sugar, biscuit mix, milk.
Also shown: plate, cup, spoon, backpacking cutting board (work surface), and stainless steel pots
We only need three ingredients to make our doughnuts.
1. Buttermilk Biscuit refrigerated dough (should not contain sour milk or butter)
The secret to making these doughnuts is to use refrigerated dough. I use Pillsbury’s Grands!® Flaky Layers Buttermilk Biscuits. Although the brand doesn’t matter, their composition does. Do not use dough that contains sour milk or butter. These don’t work well – they remain doughy even after cooking. So read the label before you purchase to make sure the dough does not have sour milk or butter as ingredients.
The reason that refrigerated dough works so well is because it uses baking powder, not yeast to rise. So the doughnuts fluff up nicely when boiled in oil.
2. Powdered Sugar
Powdered sugar is a finely ground form of normal granulated sugar. We’ll use the powdered sugar to make the glaze for our doughnuts.
3. Milk
We will also use Milk to make our doughnut glaze.
Equipment
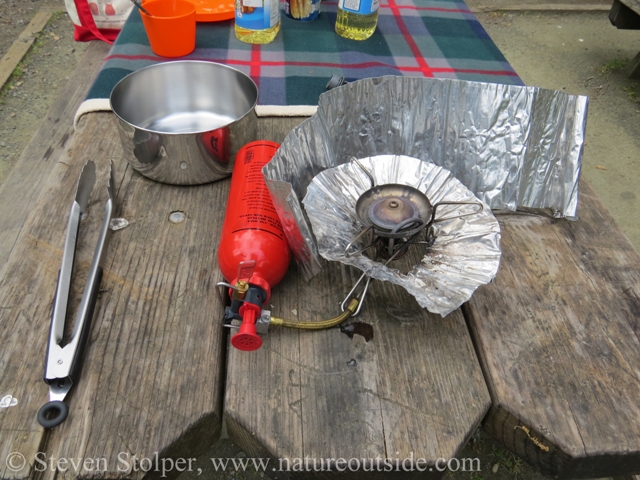
Camp stove (in my case a backpacking stove), 2 liter pot, tongs
Just about anyone who camps has the equipment we need to make our doughnuts.
1. Camp Stove
Any camp stove will do. I happen to use my 20-year-old Whisperlite International backpacking stove.
2. Pot
The pot should be big enough to hold plenty of oil and at least two doughnuts. I use an MSR 2-liter stainless steel pot.
3. Tongs
You can always fashion one out of twigs, but I have a pair of inexpensive tongs that I use to fish the doughnuts out of the oil while keeping my hands safe from spatters.
4. Clean work surface
I use a small cutting board and plastic plate as convenient work surfaces. Notice that the color of my plate is high-visibility orange. This helps me spot my doughnuts in the unlikely event I misplace them. 😀
5. Spoon
We’ll use the spoon to drizzle the glaze over our piping hot doughnuts. Any spoon will do.
6. Cup
We will mix our glaze in a small cup.
Instructions
The process is really very simple.
1. Set up the camp stove
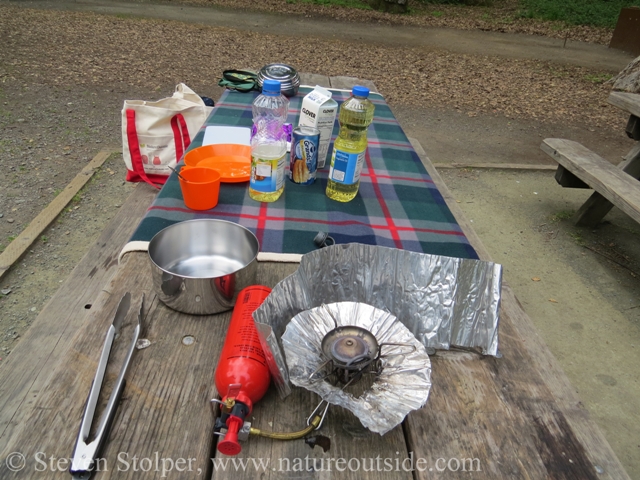
Time to make the doughnuts!
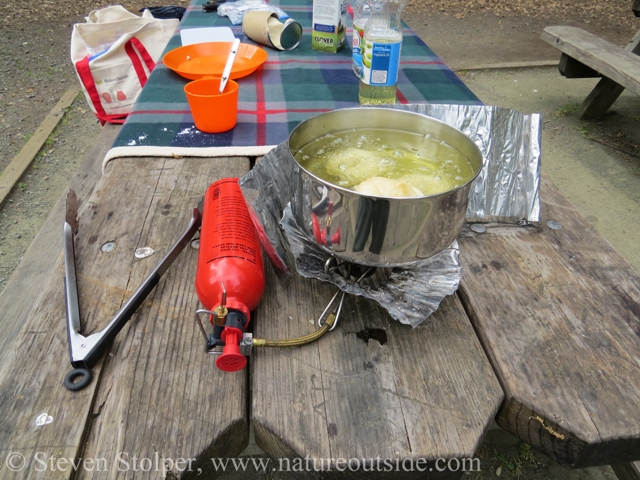
2. Heat the oil to just about boiling
Pour the vegetable oil into the pot. I use just over half the bottle (about 26 fluid ounces). Safely light the stove and begin heating the pot of oil.
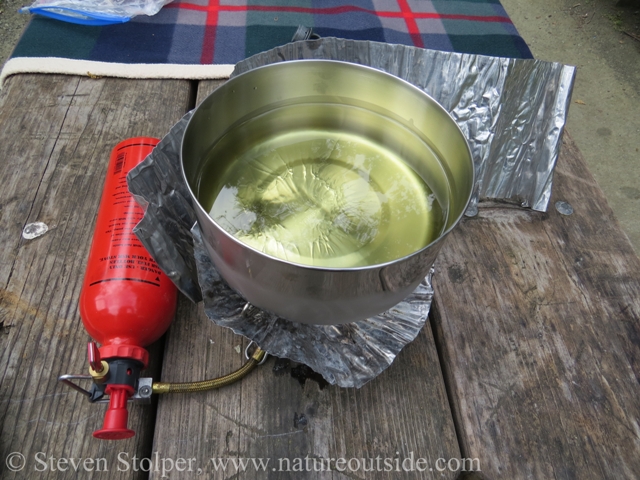
Heat the vegetable oil to just about boiling
3. Make the Glaze
Put a couple of tablespoons of powdered sugar into a coup. Add just a touch of 2% milk. You want the mixture moist enough to drizzle over the doughnuts. But not so fluid that it runs right off the top. Mix with a spoon until it has a thick consistency. If it becomes too runny, add more powdered sugar to the mixture.
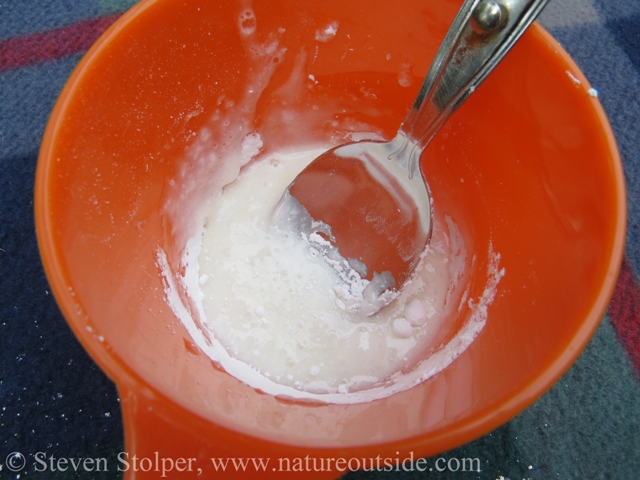
Add just enough milk to the powdered sugar to make a moist mixture.
4. Make a doughnut
Open the refrigerated dough and extract one of the biscuits. Use your thumb to punch a large hole in the center of the flat disk. Make the hole large because it will shrink as the dough cooks.
A word of caution: Instead of punching a hole in the center, I have tried rolling the dough before forming it into a doughnut. This does not seem to work for me. The thickness is uneven and part of the doughnut remains doughy even after the rest is fully cooked.
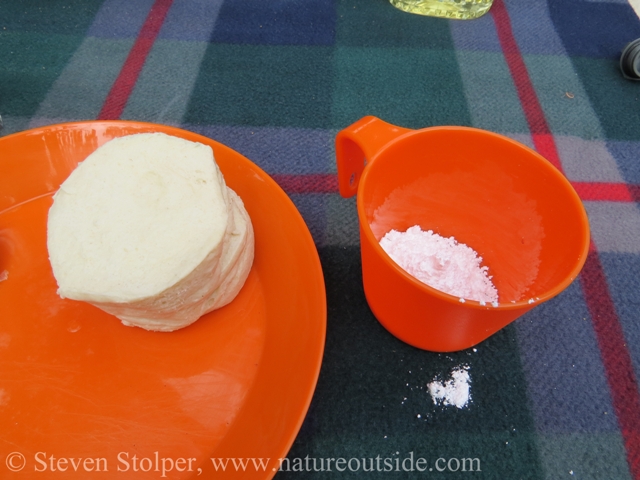
Remove several biscuits from the package and separate.
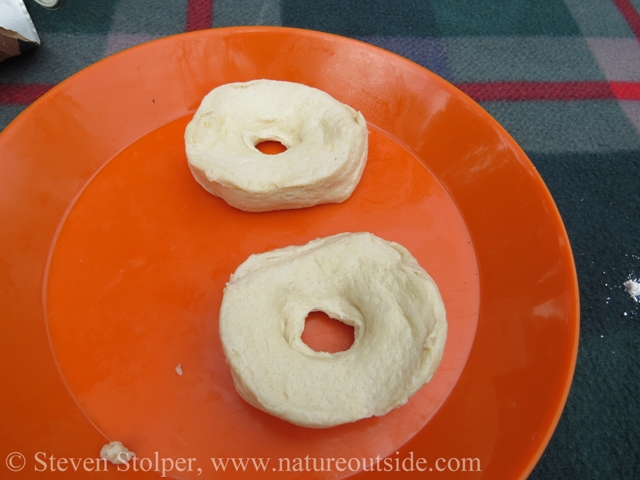
Use your thumb to punch large holes in the center of the flat disks.
5. Put doughnuts into the oil
Put several doughnuts into the oil. Lower them gently to prevent oil from spattering on your hands!
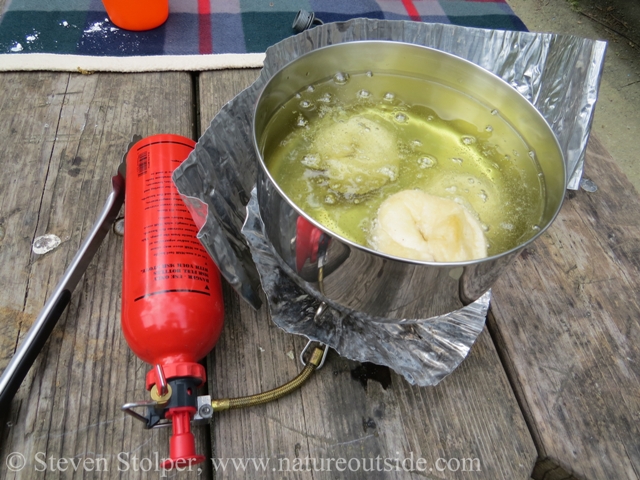
The doughnuts may float or settle to the bottom. Either behavior is fine.
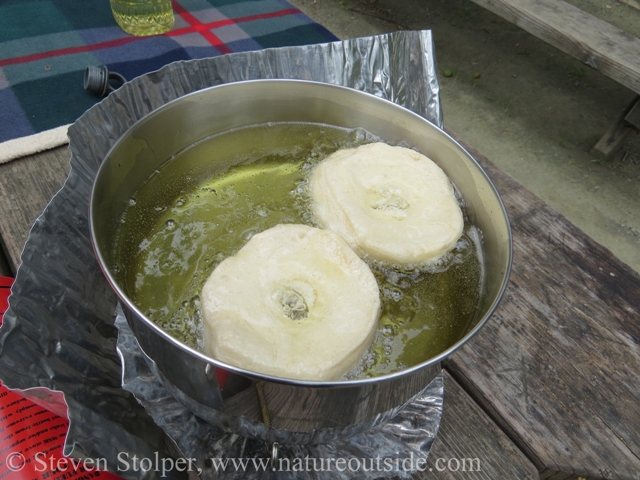
The holes shrink as the dough expands.
6. Turn doughnuts
Turn the doughnuts after a suitable period (your mileage may vary). This ensures even cooking and a uniform golden-brown color.
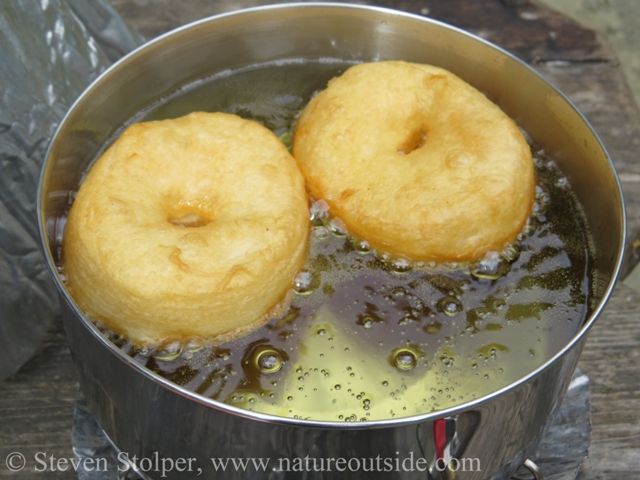
The outside of the doughnuts turns an inviting golden-brown.
Frying the doughnuts.
7. Remove the doughnuts from the oil
Remove the doughnuts from the oil using the tongs. Do not touch the doughnuts with your hands, they are very hot!
8. Glaze
Use a spoon to drizzle the glaze you made in step 3 over the doughnuts. When you remove the doughnuts from the oil, they are extremely hot. Their heat will evaporate the milk, leaving a wonderful glaze.
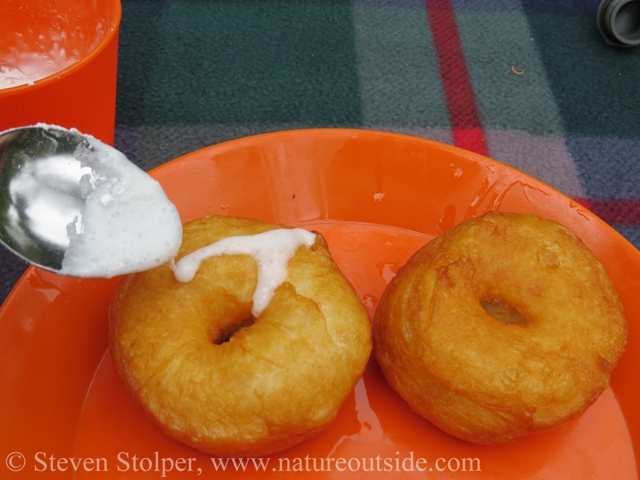
Drizzling glaze over hot doughnuts.
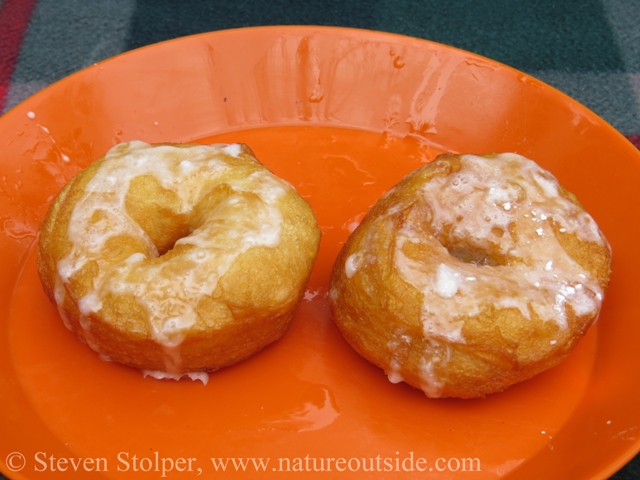
Our camping doughnuts are finished!
9. Enjoy
As soon as they are cool enough to handle, dive right in. There are few things better than piping hot glazed doughnuts on a frosty morning.
After the oil cools, I carefully pour it back into the plastic container. Do not pour the oil on the ground! You do not want to pollute the campsite or draw critters into your camp. You have the option to reuse the oil at a later date. But I usually don’t because of health concerns. I dispose of the oil when I return to civilization.
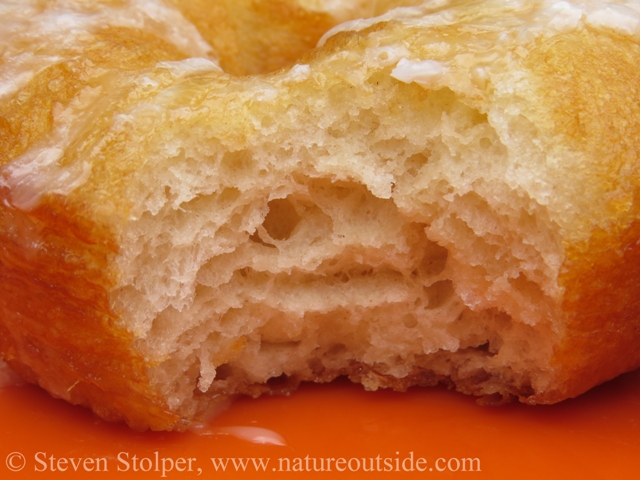
A close-up view of a finished doughnut.
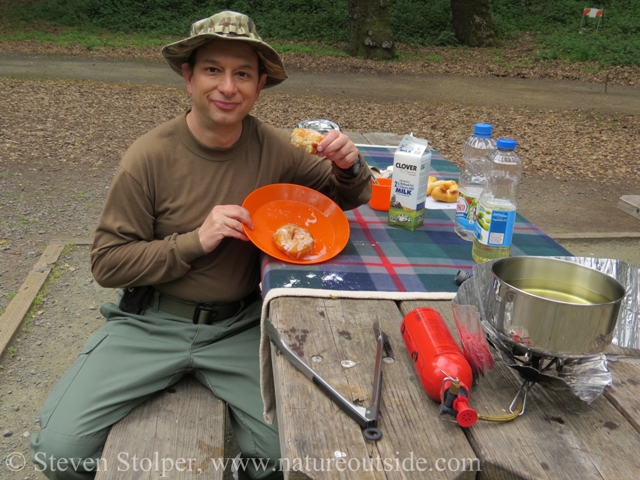
My friends are always surprised when I make doughnuts in camp.
Yum, doughnuts!!!
Try It Yourself
This is fun and easy to try. But it may take several attempts to get it just right.
My friends are always amazed when I make donuts in camp. Try it yourself and let me know how it turns out by leaving a comment below.
References
Other Camp-Food Related Articles on NatureOutside
Bushcraft Dessert – Make a Lavender Dip for Strawberries
For fun facts and useful tips, join the free Bushcraft Newsletter.


OMG when are you going camping next, cuz I want to come!! I have used biscuits in a can to bake a parmesan garlic pull-apart bread in my dutch oven for dinner… but now I’m thinking I’d rather fry them for breakfast!
Catherine, that garlic pull-apart bread sounds delicious! I’ll make the doughnuts if you bake the bread! 🙂